Removing And Installing An RV Washer And Dryer (Splendide 2100)
When we bought our HR Vacationer motorhome, it came with a washer/dryer combo machine. The old model was a Splendide 2000 WD802.
The machine worked, but I could tell that the previous owner of our motorhome bought the machine secondhand. It was a bit dinged up, had some rust marks on it. When I had to open filter to clean it, I could literally see tree leaves in the machine. Clearly, this machine was sitting outside in some used lot and was bought and installed in the rig.
It worked, though. We took several trips using that machine as our main laundry source. Considering the smaller laundry loads and the fact that there’s 4 of us, the machine was kept pretty busy.
But, then we were in California. And suddenly the old WD802 wouldn’t drain.
It would stop mid-cycle. The water was stuck inside the machine and the door was locked.
And as any RV owner knows, you don’t want water leaking around inside an RV. Bad things happen.
We had no choice but to drain the machine inside the motorhome. The only way to do that was out of the filter housing. So, I brought the machine out of it’s cabinet as much as I could, put a bucket under the corner, and began loosening the filter housing.
The water drained out haphazardly. It was a mess, but we were able to catch most of it. It took quite a bit of time for us to manage to get all the water out. We also had to dry as much as we could (including under the machine).
Then, the door was stuck. So, I had to basically FORCE it open with a hard yank just to get our clothes out.
The dryer worked fine, but the washer function was disabled because as soon as water went into the machine, it didn’t come back out.
I suspected that the drain dump was likely defective. But, there’s a problem…
The Splendide 2000 WD802 is a discontinued product. It’s just… old. So, getting parts for this thing wouldn’t have been easy.
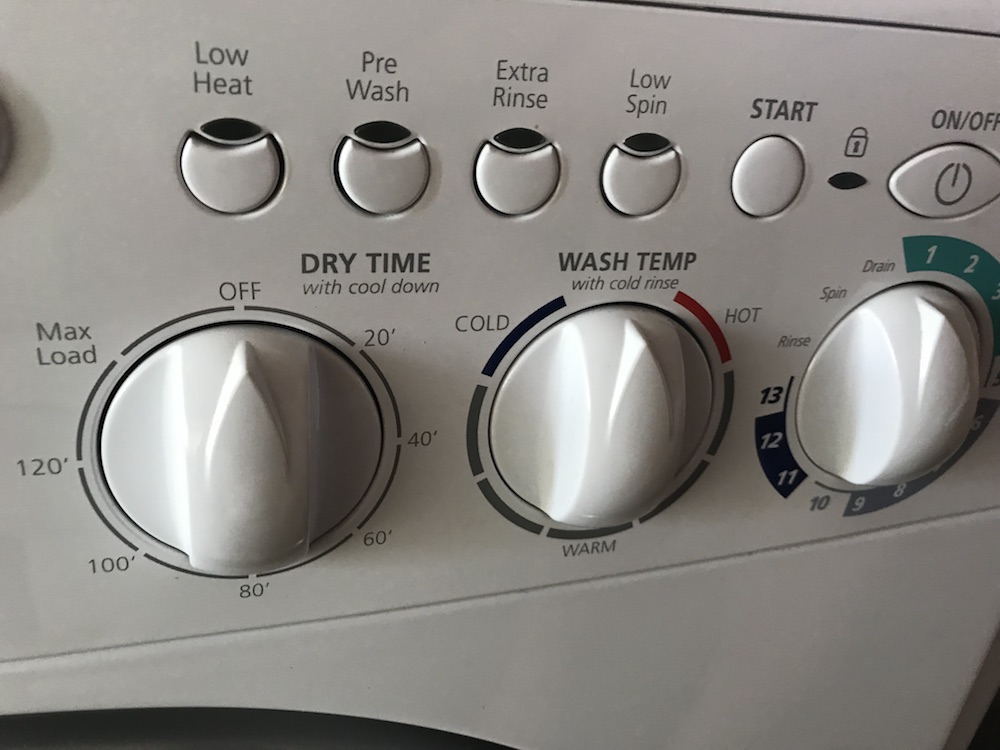
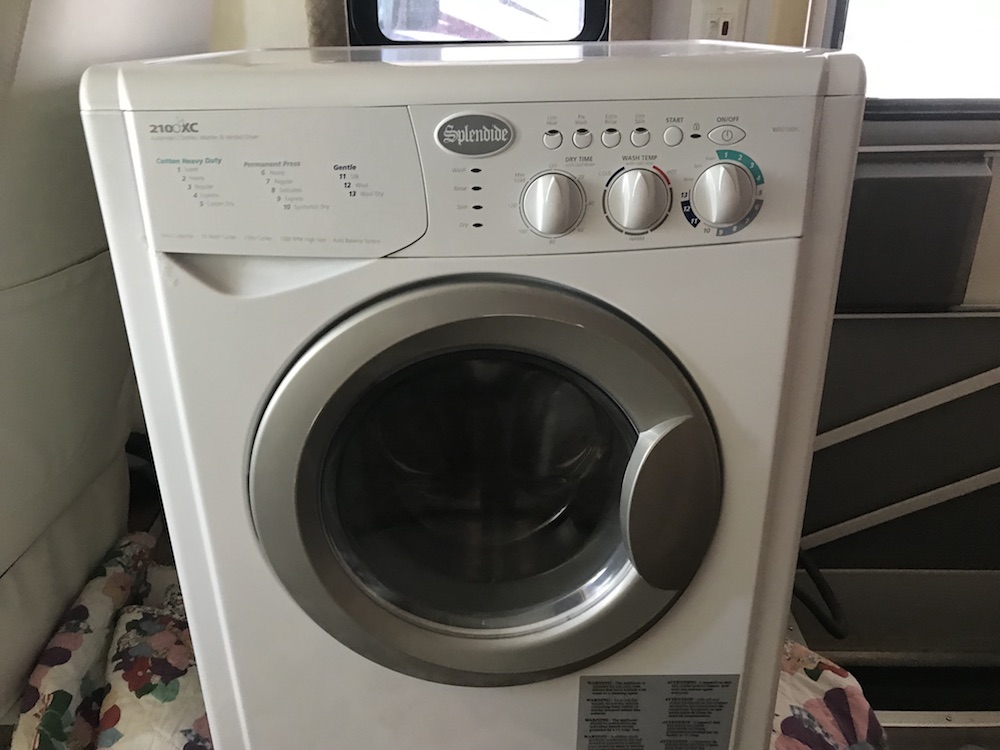
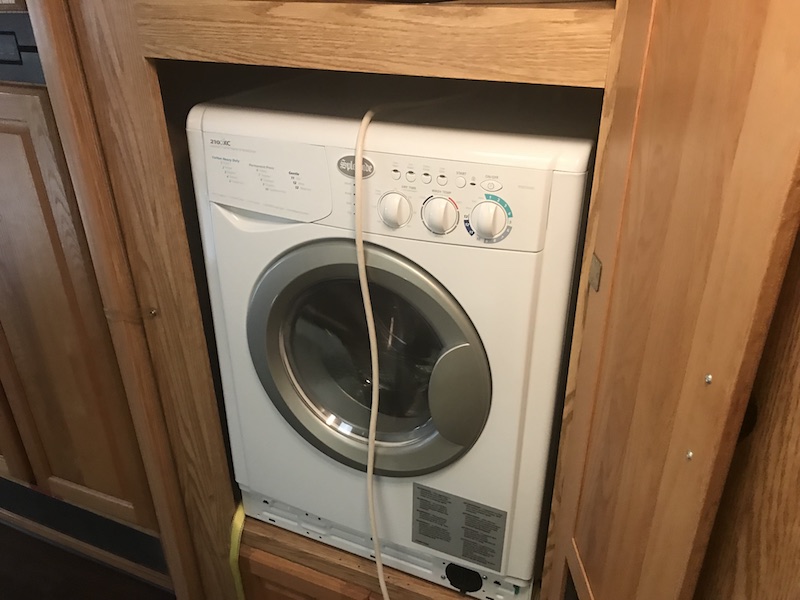
The current model is the Splendide 2100XC.
Brand new this machine usually sells for around $1,200.
But, I’m one that likes my money to be used efficiently. 🙂 Surely, I can find somebody selling this model used for cheaper than that, right?
Finding A Replacement Splendide
I found a few listed on Facebook Marketplace. They were listed anywhere from about $350 up to $600 or so.
While I could likely fix the old machine cheaper, it would have been more work. It’d still be the older, discontinued model. So, if I could get the newer model for $350, it seemed like the better way to go.
I found a good deal listed at $350, however it was all the way on the other side of the state. Ugh.
Later, I found one on Craigslist. It was located only about 65 miles away for $500.
I exchanged several emails with the guy who owned it. I asked him the age of the machine. He didn’t know, but said the manual showed a copyright of 2007. Right off the bat, he lowered the price down to $350 without me even asking. Who am I to argue? 😉
The photos seemed to show the machine was in good shape. Obviously, there’s always a risk buying something like this. It isn’t as if I’m going to run a whole load of laundry at the guy’s place to test it out. But, for $350, it seemed like a risk worth taking.
Only one issue…
How was I going to get this machine home?
Picking Up The New Machine (It Was An Interesting Excursion)
It is too big to fit into my Honda CRV. And apparently it isn’t a good idea to transport a washer/dryer on it’s side. He didn’t even have the transport bolts to put into the back to stabilize the drum.
So, I did what any self-respecting RV owner would do…
I used my own RV as a glorified UHaul. 🙂
I drove my motorhome up to this guy’s place to haul the Splendide 2100 home. There was one little catch, however.
This guy lived down an unpaved road. Sand and grass. And tree limbs hanging sorta low in some places. And a few hundred yards down that road, he was living in a 5th wheel by himself. And in that 5th wheel was the machine I wished to buy.
So, I had to get my 36-foot class A motorhome back there in the woods somehow. Then, we had to unhook that machine from his 5th wheel, haul it out of there, and get it up into mine.
He told me I could get back there. So, I took him on his word. And, I went and picked up the rig from storage and headed up to this guy’s place.
When I got there… sure enough, I felt like I was offroading.
Technically, I guess I was.
I got out of there unscathed, but I did have some tree limbs dragging on the sides and the roof. In one area of this little pathway, I had to go off the path to literally drive AROUND a low-hanging oak tree limb.
But, I got back there. David +1. 😉
The owner was a really nice guy living by himself in his 5th wheel. The most interesting thing was getting the machine out of his 5th wheel. He was also an older guy with a bad back, so I had to manage to do most of it on my own with his assistance. I had brought my hand-truck and we got it done.
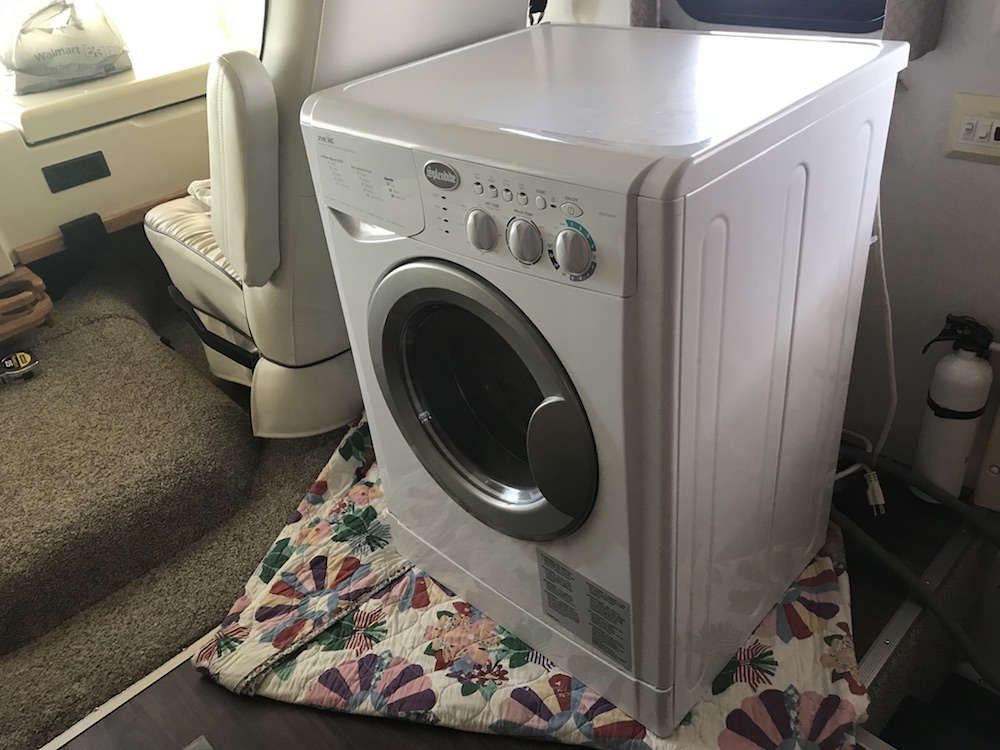
We just put the new machine on the floor inside my rig on a blanket… and I headed back to my storage facility. The machine would just sit there for a few weeks until I had a chance to install it.
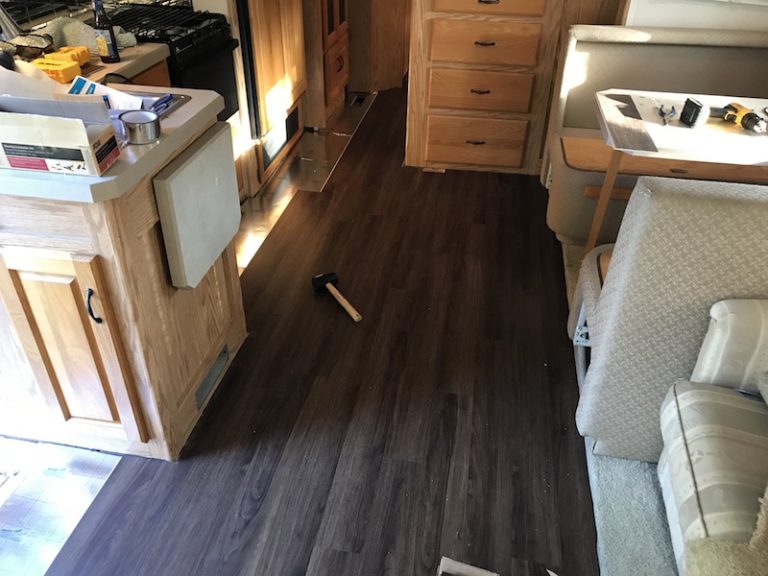
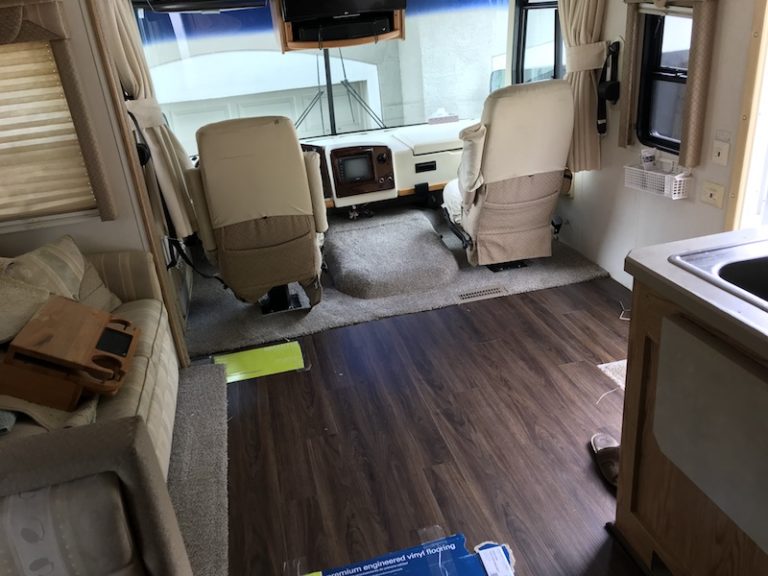
Installing The New Machine (Always Easier In My Head Than In Real Life)
So, the job seems simple…
Take the old machine out and put it in the garage. Slip the new machine into the cabinet. Hook up the dryer ventilation hose and the water lines. Grab a beer.
The first issue is that these machines weigh 148 lbs. But, it sounds worse than it is. My wife and I were able to manage.
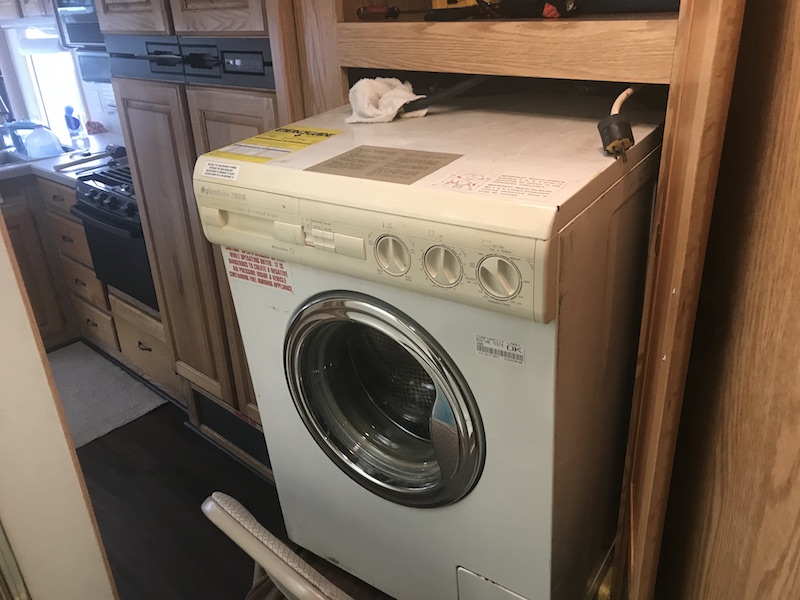
Our laundry cabinet is, unfortunately, elevated off floor level. So, after disconnecting everything, I moved the machine out of the cabinet and used a chair to support the front of the machine. Then, my wife and I managed to get it out and onto a hand truck for removal. It just BARELY fit through the doorway.
Next up were to prep the connections for the new machine. The dryer hose was torn up and patched with some duct tape. I figured I might as well replace that while things were accessible.
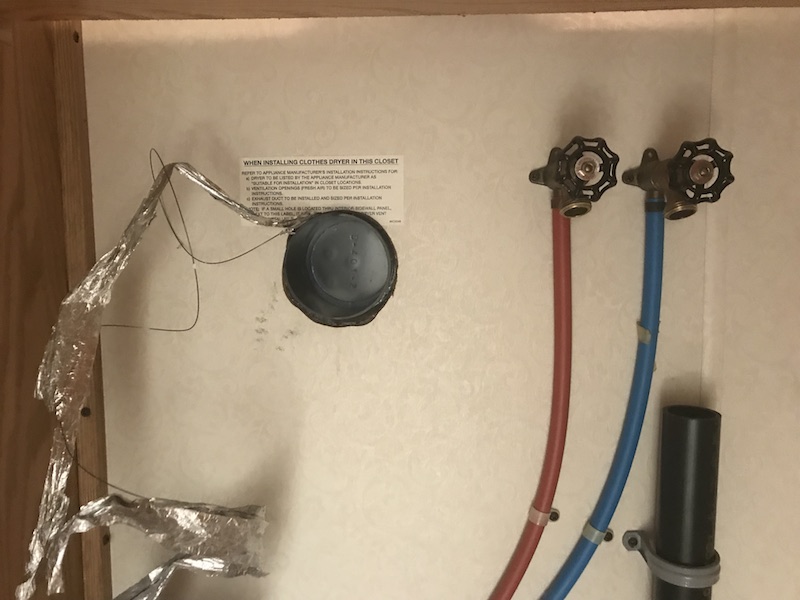
Now, that dryer hose was a real pain. It seems so simple before you actually do the job. But, in reality, trying to position dryer hose in such a small space and attach it securely to the back of the machine is… easier said that done!
I ended up going to Lowes a couple of times looking for hardware that would suit my purposes and the amount of space I had to work with. I also had to remove the entire dryer ventilation vent in order to remove the clamp for the old dryer hose.
There is no way to connect that new dryer hose without the machine physically being in the cabinet. This means I install the new machine then I have to attempt to work from above in tight quarters.
I don’t have any photos of actually installing the hose and connecting the cables. I was too busy cussing. 😉
Apparently, Nobody Wants An Old Machine
All that was left was to dispose of the old one.
I figured, surely I could get $75 for it, right? After all, I’m fairly sure that if somebody was willing to find and replace the drain pump, the machine would keep on going. so, I listed it on FB MarketPlace and spelled out the details.
Nothing.
Lowered it to $25. I figured my main goal is just to get it out of my garage. It isn’t like I need the money.
But, even at $25… nothing. I did have one lady bite, but she eventually passed and said it was too much hassle for her to fix it.
So, screw it…
I listed it for free.
And, sure enough…
That machine was gone in under an hour!
People really love them some free stuff. But, $25…. nah, that’s too much. 😉
But, whatever. I just wanted it to be gone. It served it’s purpose.