Modifying My RV Storage Building
In my last post, I discussed how I sold my RV in 24 hours. While I really liked that motorhome, I sold it anyway. And one of the big reasons for it was this:
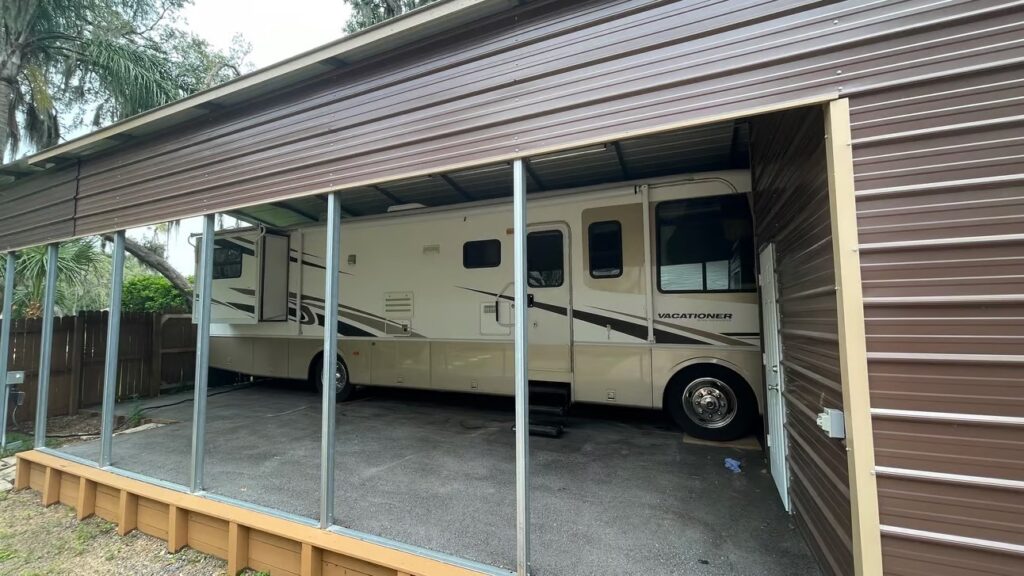
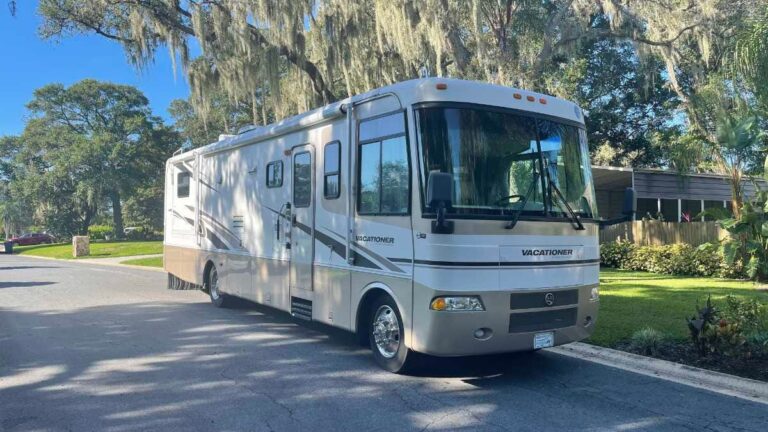
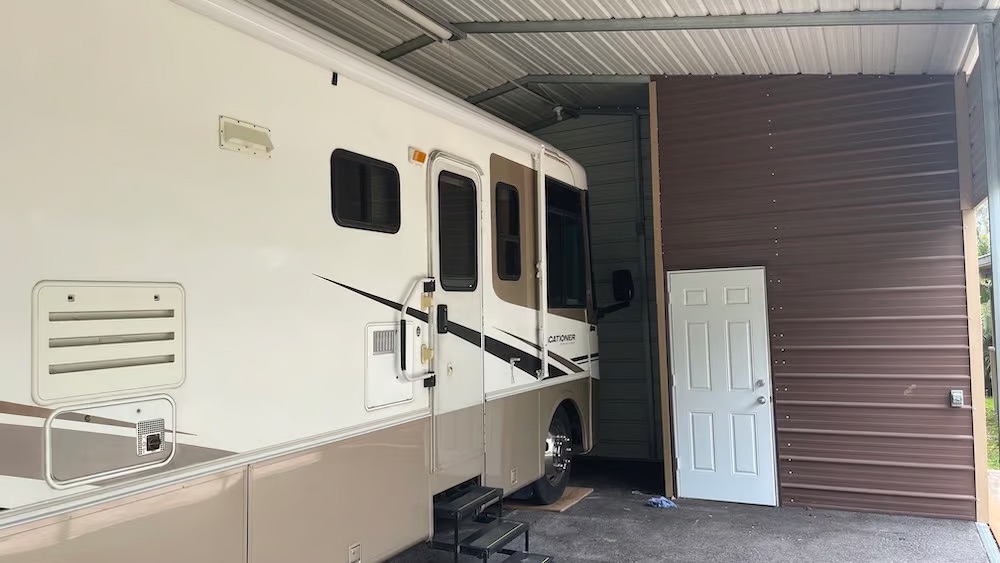
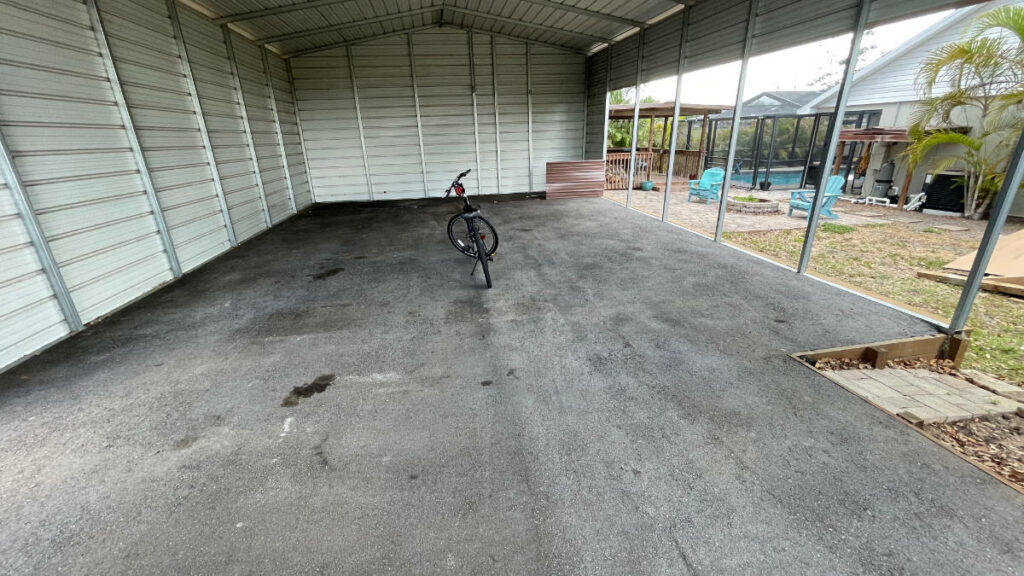
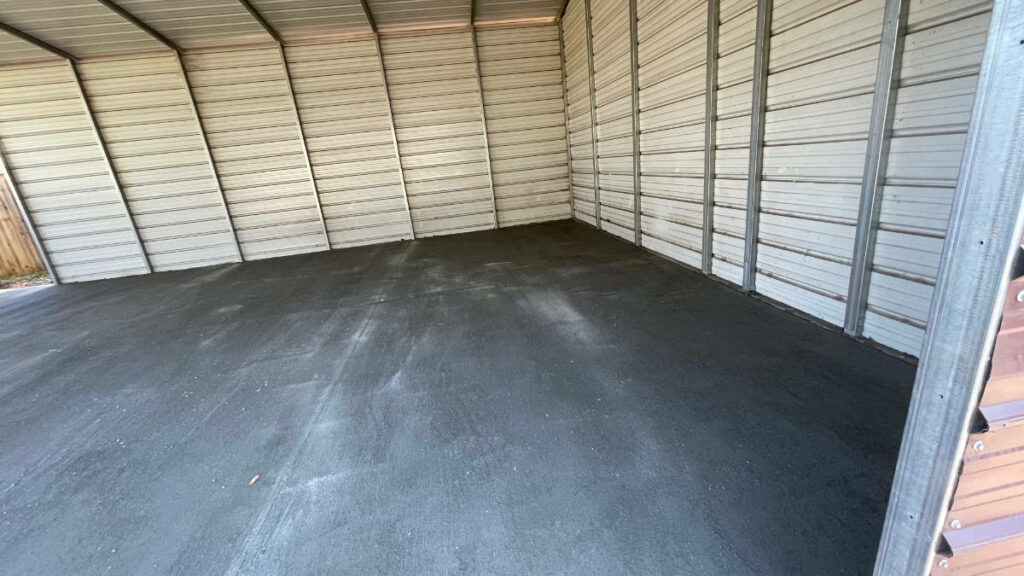
My Holiday Rambler Vacationer was 36.5 feet long. And it literally took up this entire metal building I have in my yard. In fact, I had this building lengthened just to accommodate it.
But, there are a lot of things I could do with this building besides just store the RV. With this one in there, all I had room for was a tiny storage closet in the corner.
Plus, this building had an asphalt floor. It was put in there by the previous owner and it was in really poor shape. It was falling apart in many spots. Plus, asphalt just isn’t the right material for flooring when you’re parking a big, heavy motorhome on top of it. The Florida heat combined with the weight means the RV would literally sink into the flooring.
I had pieces of plywood under the wheels just to distribute the weight so that it wouldn’t sink. But, it still did. Even my toolbox inside the tool closet would create sunken pits in the floor. It was ridiculous.
So, the mission was to re-do this building.
The Plan Was (Kind Of) Simple
My plan for this building was as follows:
- Sell the RV
- Tear out the tiny tool room.
- Get the asphalt ripped out and replace with a concrete slab.
- Rebuild a much larger tool room with more storage and a pull-down door.
- Re-wire the electric.
- Buy a new (shorter) RV.
The old tool room was only about 5ft x 8ft. The new one would be 10ft x 24ft. 24 feet is the total width of the building. So, I’d be taking it from roughly 40 sqft up to 240 sqft. I’m literally multiplying my available interior room by 6 times!
The Plan Sets In Motion
Once the RV sold, it was time to get moving with this project. The first step was the removal of the small tool room in the corner.
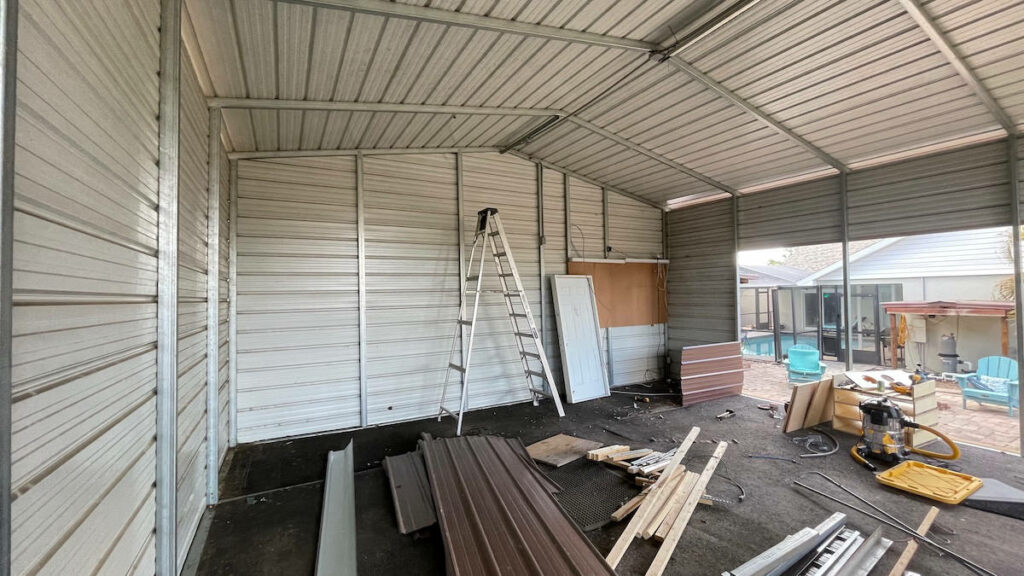
The old asphalt flooring was put into this building after the building was built. Originally, I’m fairly sure there was just gravel. Due to the way the previous owner did it, the asphalt literally went around the walls, leaving beams and metal sheeting embedded into the flooring.
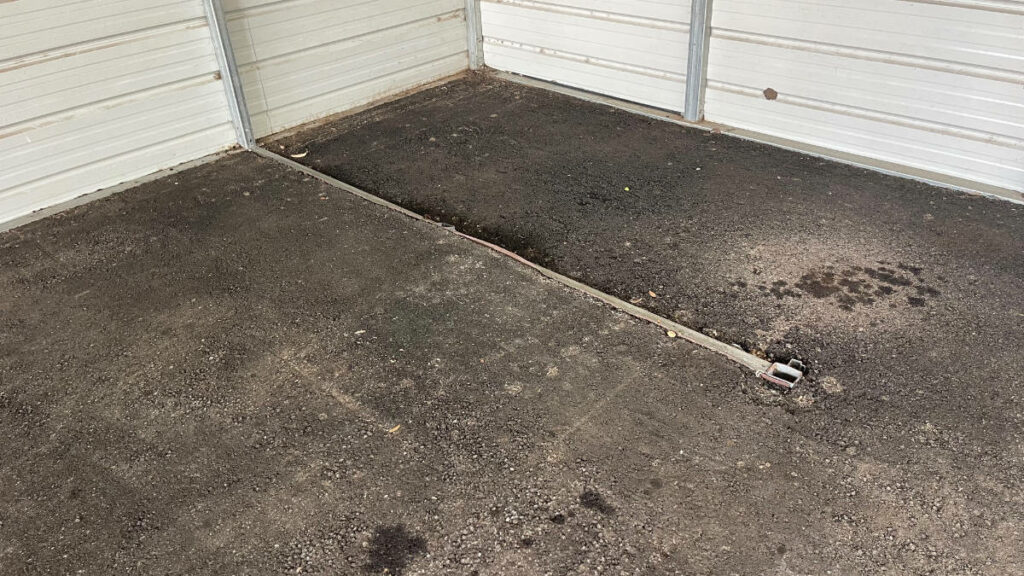
I was looking forward to fixing all of that. 😎
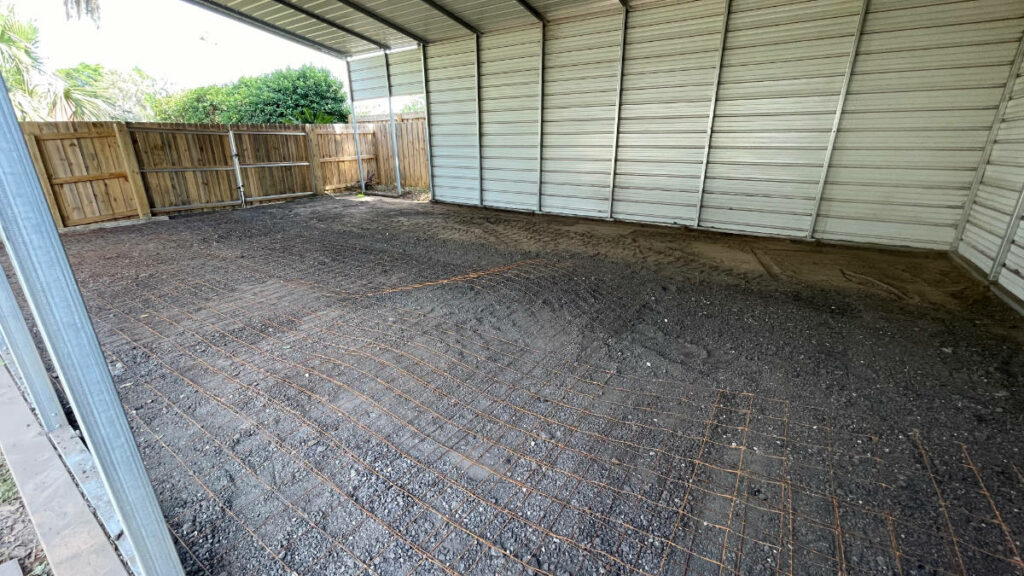
Next up was flooring. The plan was to put a 4-inch concrete slab reinforced with wire mesh. A 3-inch slab could have been a little too thin for the weight of an RV whereas I think 5-inch would have been overkill. 4 inches was a compromise.
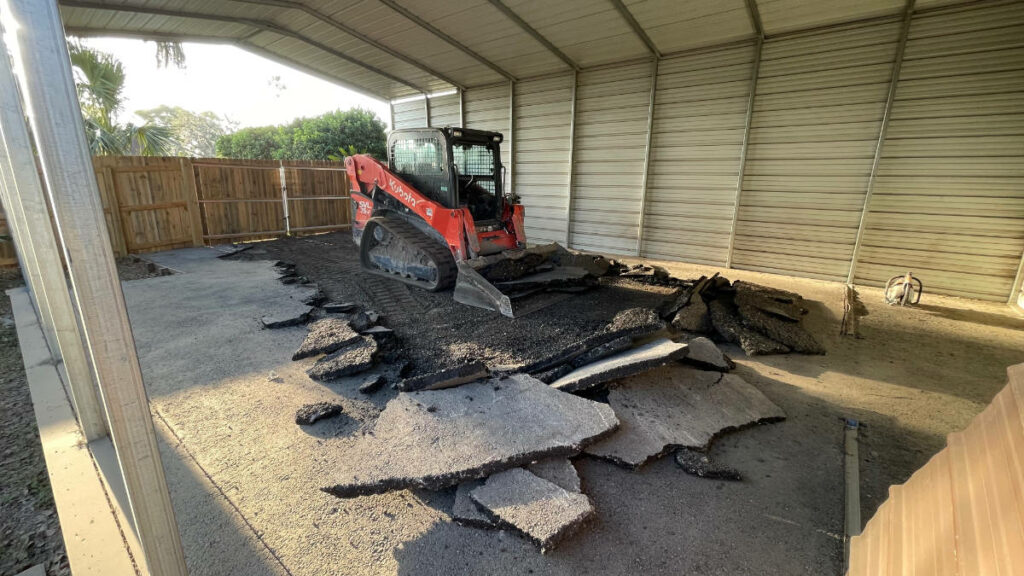
It begins with watching this crappy asphalt get demolished…
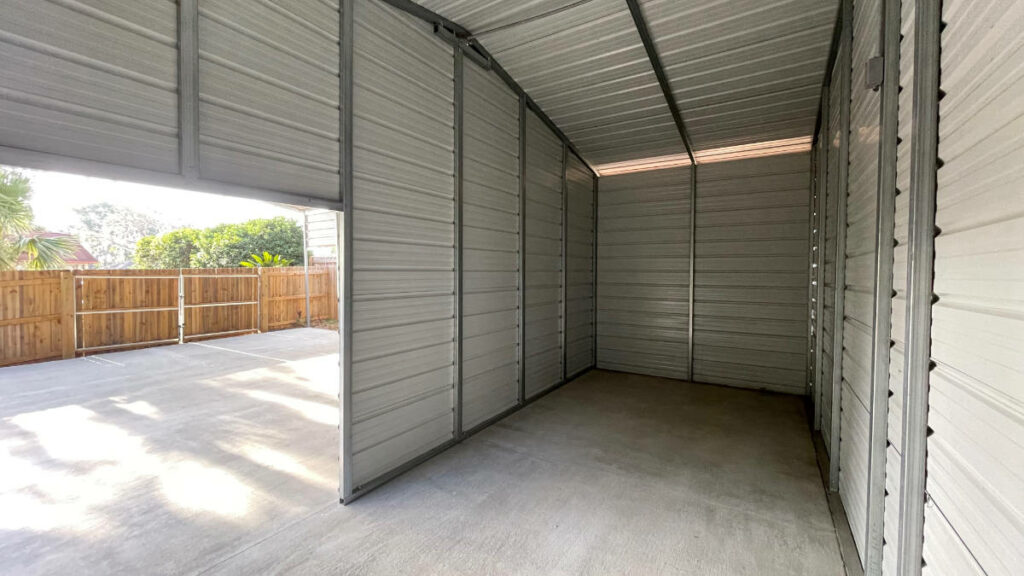
Then the new concrete goes in…
We had to wait until the next day to walk on it, of course. Then, I had to clean off the interior walls of the building with a pressure washer and a little bit of scraping. Usually, concrete goes down before the building, but in this case the ordering was different so I had to clean things up.
Next up was building the new storage room.
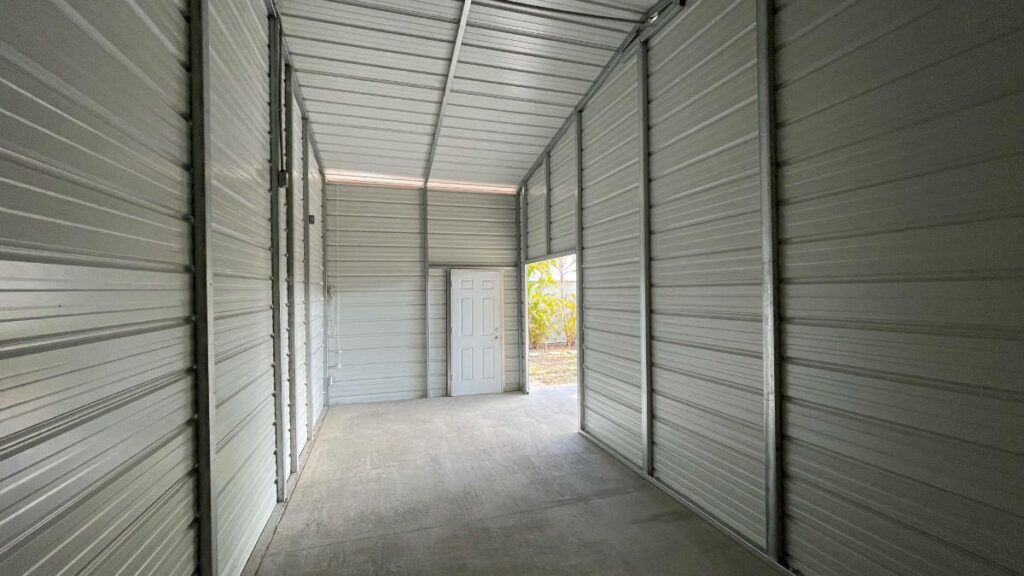
I then had to take a trip to Arizona for business. But, when I returned, I began to “move in” to the new tool room and get things organized.
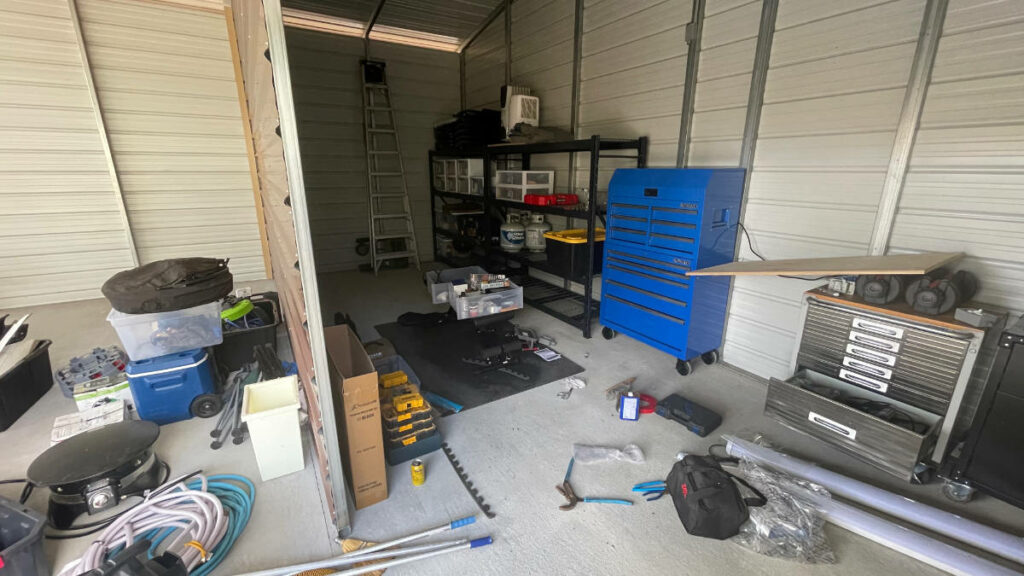
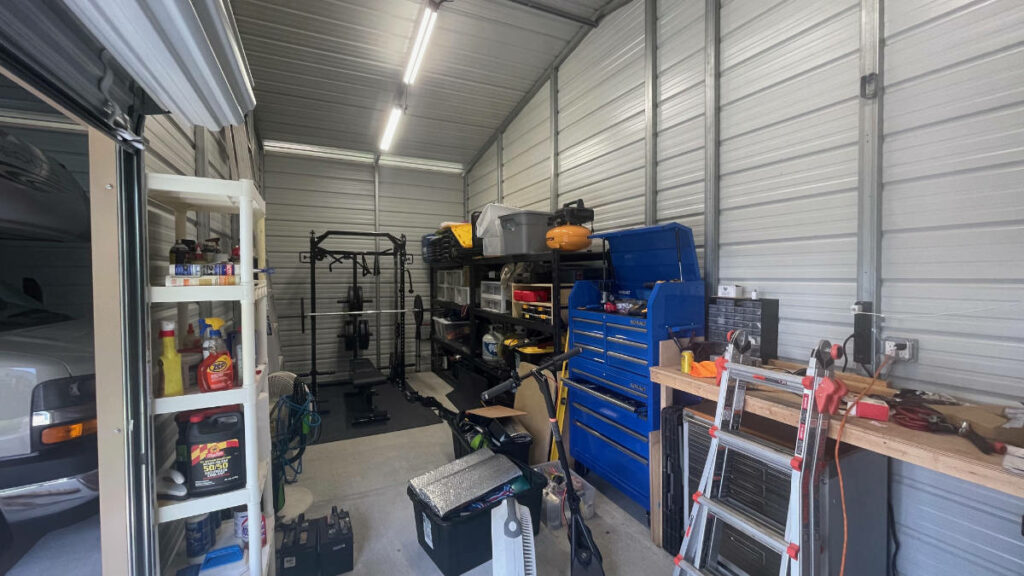
I ended up building a new workbench in there. Doing a bunch of organization. Got the roller door as well as the electrical installed. My son ended up talking me into a power cage for home gym workouts, so we ended up putting one of those on the far end of this new room.
Making My Vision Come To Life
When I lived in my previous home, I wished I could have a space like this. It was a neighborhood where we didn’t even have the room for it. Plus, the HOA would have been pissed. 🤣
When I bought this home I’m in now, the presence of this metal building was a major perk for me. Being able to park my RV at home was ideal. Being able to do it under cover was even better.
I modified the building to suit my needs with the larger RV. It worked, but wasn’t ideal. It definitely got the job done and saved me a little money at the time because I had already dropped about $100K into remodeling of this home when I bought it.
But, after 3 years of living here, my specs changed and I realized I could make more use of this space than just parking the RV.
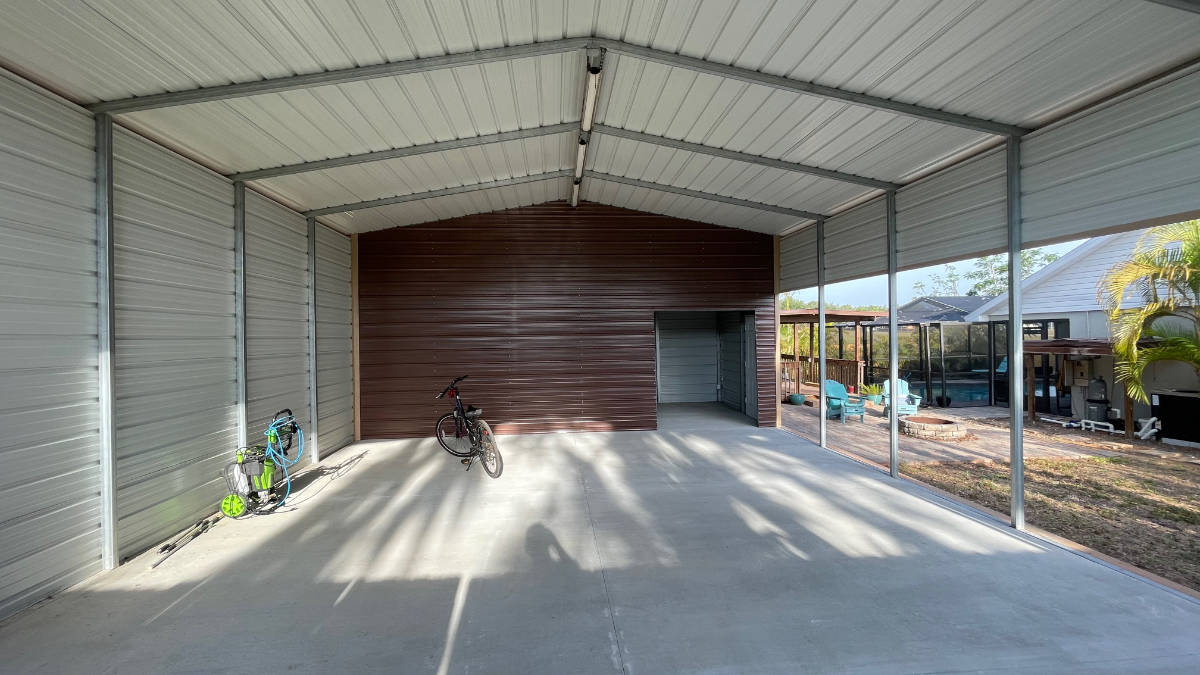
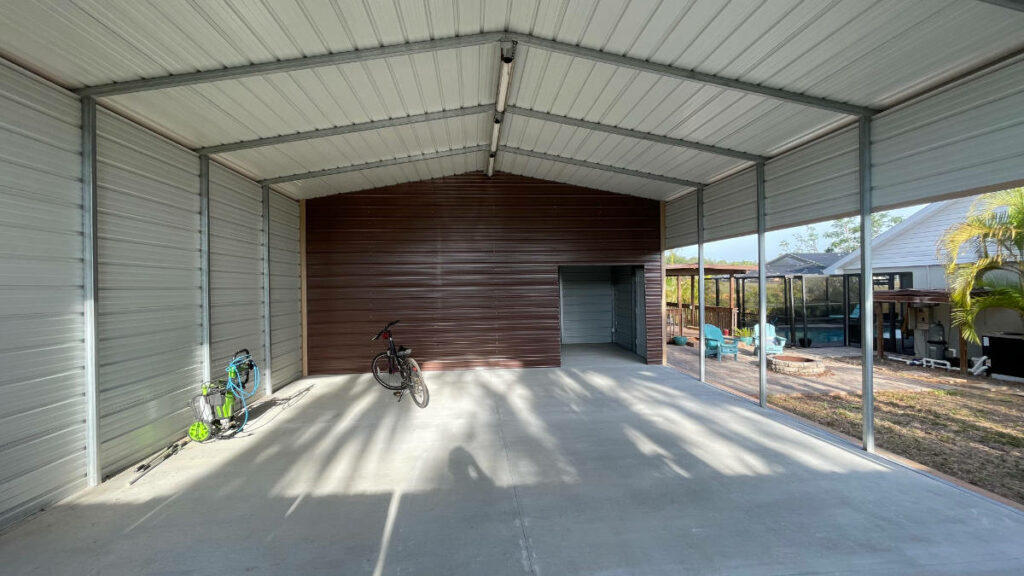
What I have now is almost my perfect setup. Considering I can do this and still live in a traditional neighborhood and in such a connected area is…. really nice. 😍
So, as I wrap up this post, I head on out to snap a few photos of how it looks currently (mess and all)…
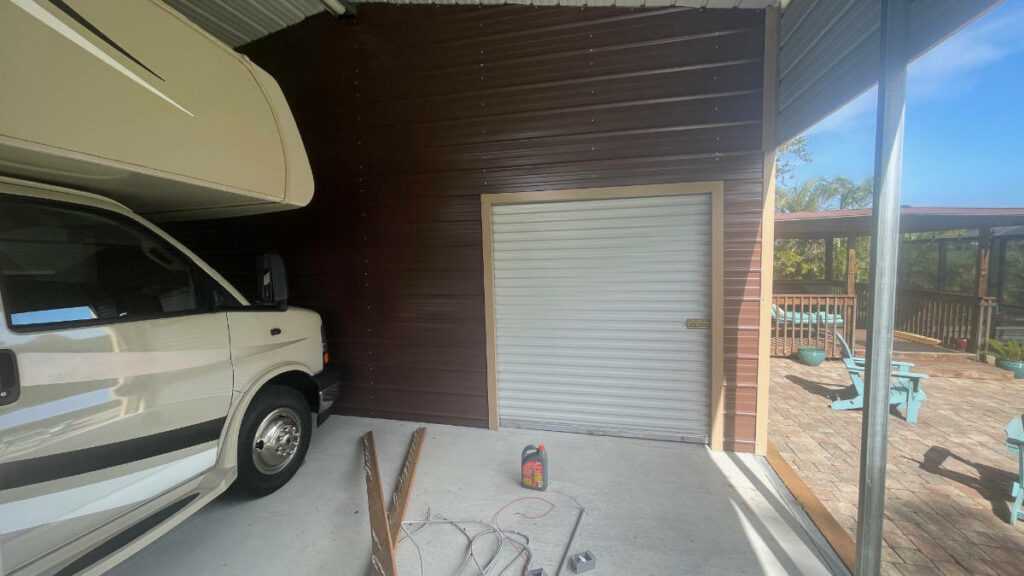
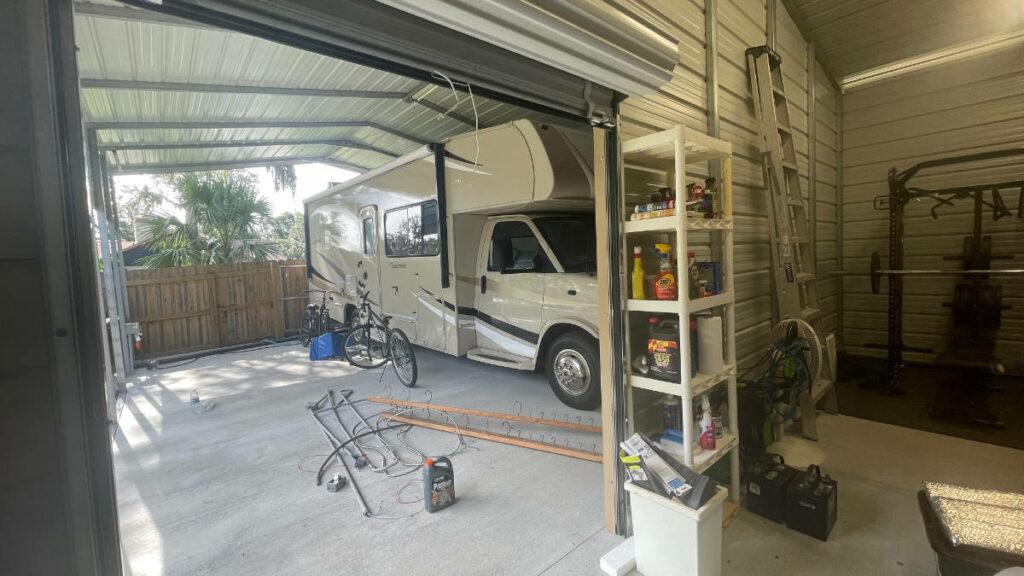
And yes, you’ll see I have a different RV now. But, I’ll tell you about that one in the next post.
Didn’t think I’d go without one, did you? 😜
As a quick shout out, the companies I used for this project were:
- Lucky’s Concrete Tampa – they did a great job on asphalt demo and the new slab
- T&G Carports & Sheds – Located in Plant City. Great people who helped build the new room and the roller door.
- Lightning Bay Electric – Helped me re-wire the building up with working electric. I thought about doing it myself, but my smarter self prevailed. 🤣 These guys did way better (and quicker) than I would have.