Reflooring: Beginning To Pull The Old Laminate Flooring
Up to this point in the project, the jury was still out on whether I was going to pull the laminate flooring or not. The problem was that I didn’t know how it was attached. If there was a lot of adhesive under there, then pulling it would be a total nightmare and I’d rather not. But, if I left it, it would change my plans quite a bit.
I even went and posted at RV Forum (one of the RV forums I sometimes post in) to see if anybody else had feedback on how this floor was attached. In the end, I got guesses but the only way to tell was to pull it.
So, screw it. I dove in. 🙂
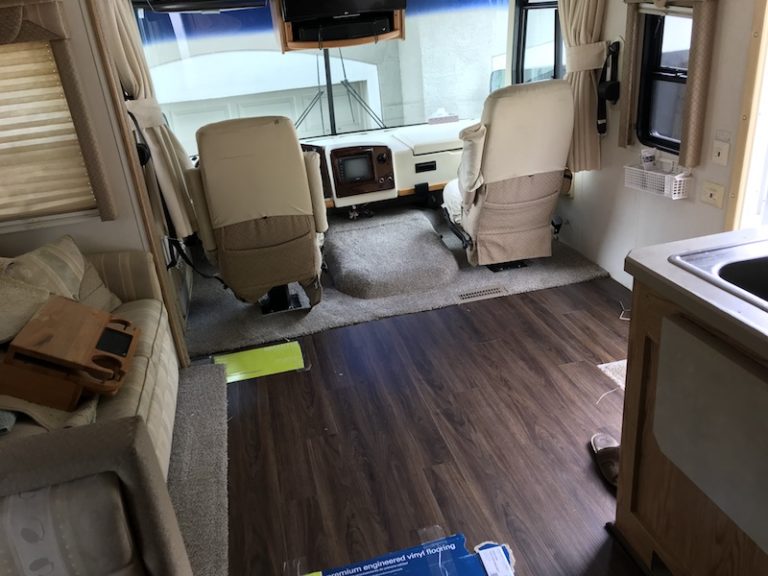
Pulling the carpet was relatively simple, but there’s no way to sugarcoat the crappy nature of pulling up laminate flooring from an RV. It… sucks. And the main reason for that is that, like carpet, the flooring goes right on underneath the cabinets. So, unless you plan to pull out the cabinets and furniture (which isn’t practical), this means we’ll have to do a lot of cutting.
A utility knife is useless for this one. This laminate is wood. It is thick. It is sturdy. So, we’ll need to flush cut all around the edges of the cabinetry.
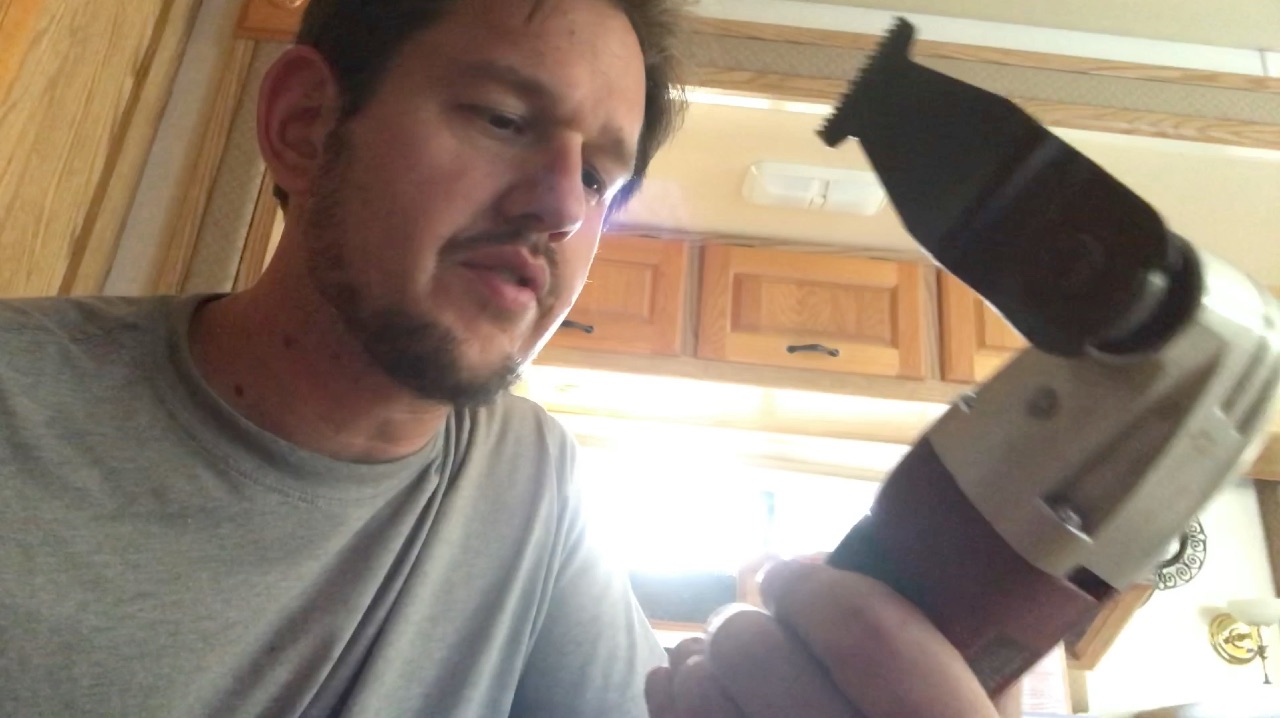
My tool of choice here was an oscillating multi-tool. I had one from Harbor Freight built by Chicago Electric. This one, to be specific. I also picked up some wood blades.
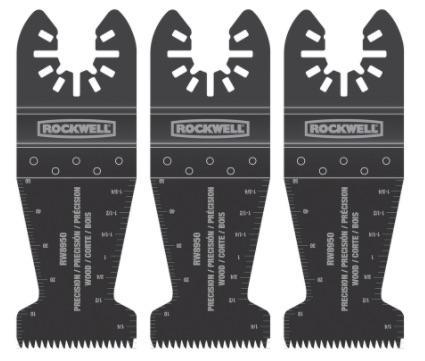
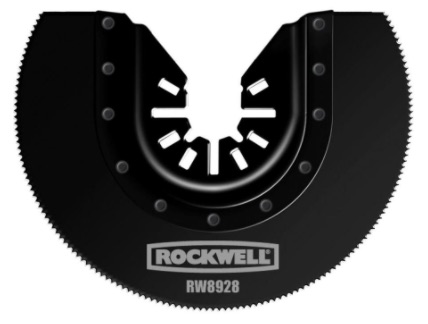
You’re going to want both kinds of blades. The circular blade is better at covering some distance as you cut while the other ones will allow you to get up into corners.
As you cut, you’ll end up switching out blades pretty often in order to get in at different angles. You need to have room for the tool itself, but you want the blades to be mounted in such a way so you can cut flush up against the cabinets. Sometimes you’ll need to turn the blade around to tackle it from a different angle.
It is rather slow and tedious. While these multi-tools will cut wood, they are not nearly as quick as something like a rotary saw. Take it in phases and you’ll get there, but it isn’t a fast process.
Also, the tool gets rather hot to the touch so it is best to wear gloves as you do the job.
So, my process was to cut along the edges with the multi-tool as deep as I can. I’d then use my rotary saw to make a nice quick cut to square off some sections of flooring to be pulled. I’d cut as much as I could with the rotary because it was very fast, then I’d finish it off with the multi-tool. Then, put on my gloves, get a good grip of the laminate, and pull it up. Sometimes, the flooring was still too attached to pull, so I’d need to come at it again with the multi-tool and go deeper on those cuts in order to weaken it enough to outright break it off as I pulled on it.
Pulling up the chunks was some work. I used some flathead screwdrivers, a chisel and my hammer to pry it out of there. Lots of times, if I hammer the screwdriver in there like a wedge, it would break up the wood and separate it from the floor.
Little by little, piece by piece, that laminate flooring came up. But, it was a tough job, there’s no doubt about it.
The job makes a lot of dust, too. Be sure you wear some kind of ventilation mask so you’re not breathing it in. I also opened up the rooftop air vent to give it a good circulating airflow and suck air out.

