Reflooring the RV: Installing New Carpeting
The next phase in our reflooring project was to install the new carpet.
Unfortunately, I had a deadline pending (a campground reservation) and I really had to finish this project. So, I just buckled down and did it and didn’t record any video. I did, however, take some photos! So, I’m going to now walk you through how it all went down.
The plan all along was to only have carpet in certain areas:
- The front cockpit where we drive.
- The main slideout (under the furniture)
- The rear bedroom
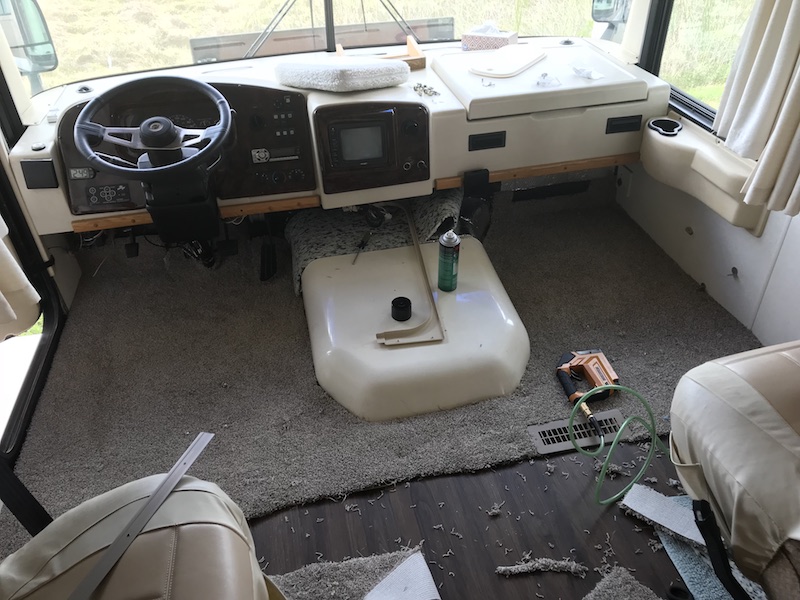
So, I at this point in the project, all the vinyl planks were installed everywhere else but I still had bare subfloor in the rest.
The first issue was to acquire carpet padding. While I wasn’t planning to install padding on the slideout (no point), I did want it in the front and back. The issue is that it is difficult to buy such a relatively small amount of carpet padding. Lowes didn’t even carry it because they just assumed any carpet installer would include it.
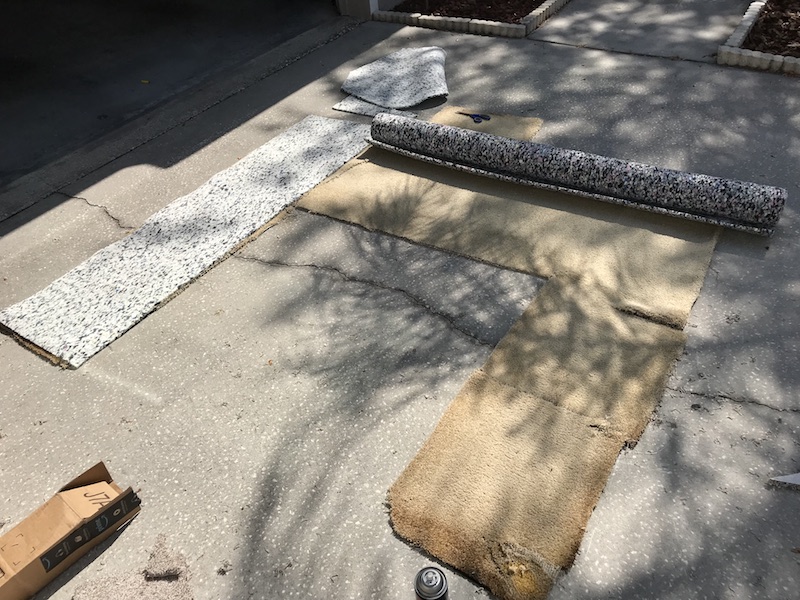
What I found – and ended up buying – was a small 6×8 rug pad at Home Depot. Specifically, this one. I ran the calculations and determined that 2 of these things would be enough for the job. It was a little pricier than standard carpet padding because it was in smaller amounts. However, if I had bought a whole roll of carpet padding I would have had a TON left over. So, this worked out.
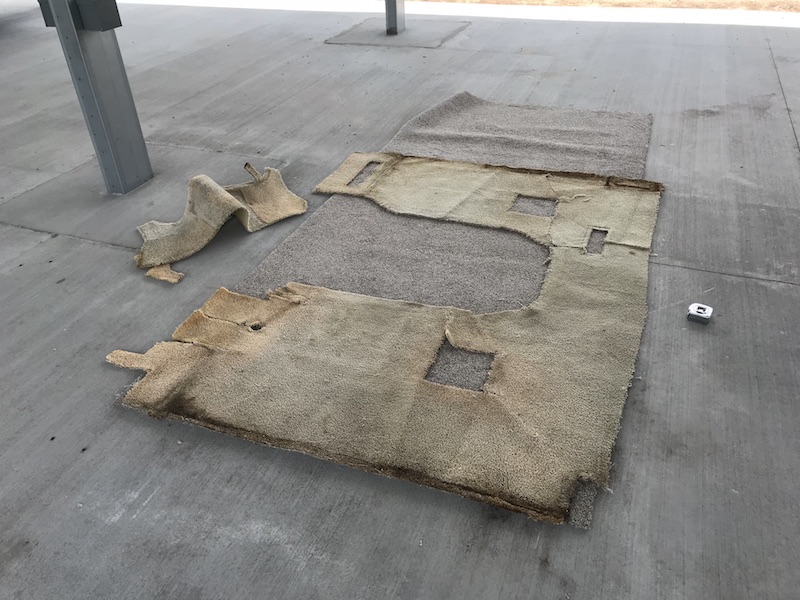
Once I had it, I used my old carpet pieces as a cutting template to cut the padding to the proper size and get around all the various twists and turns.
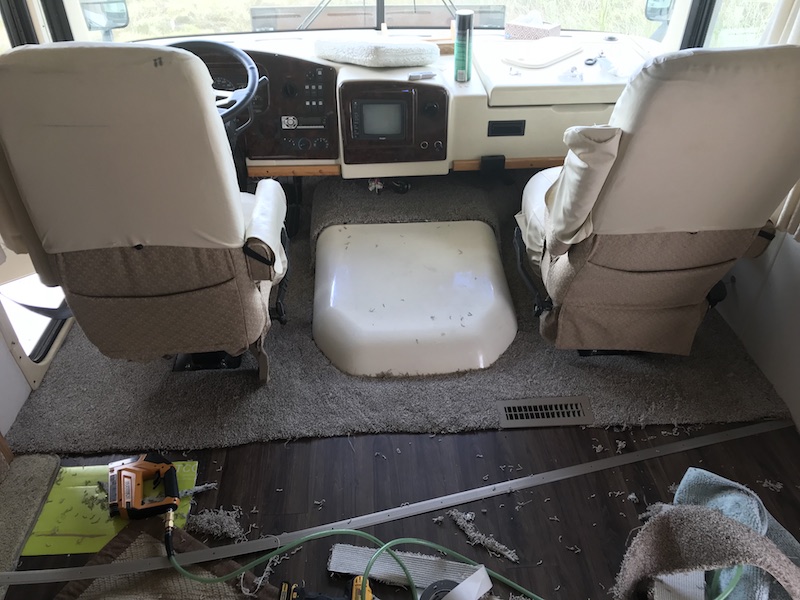
Once cut to the proper size, I just laid it in place inside the rig. A little extra trim here and there and it went right in. Here you can see the padding in place up front:
Once the padding was in, it was time to tackle the carpet.
We chose some of the bulk in-stock carpet from Lowes. It was one of the top of the line carpets of their bulk stuff. Specifically, we used the Stainmaster Petprotect stuff, seen here. The stuff sits up on big rolls which are 12 feet long. I ran some calculations to see how much square footage I needed so I knew how much to buy.
I ended up buying the carpet in two installments because I had to be able to haul the stuff home in my Honda CR-V. 🙂 We were able to roll the pieces up at the store in such a way where it was short enough to fit into my CR-V without hanging out of the vehicle.
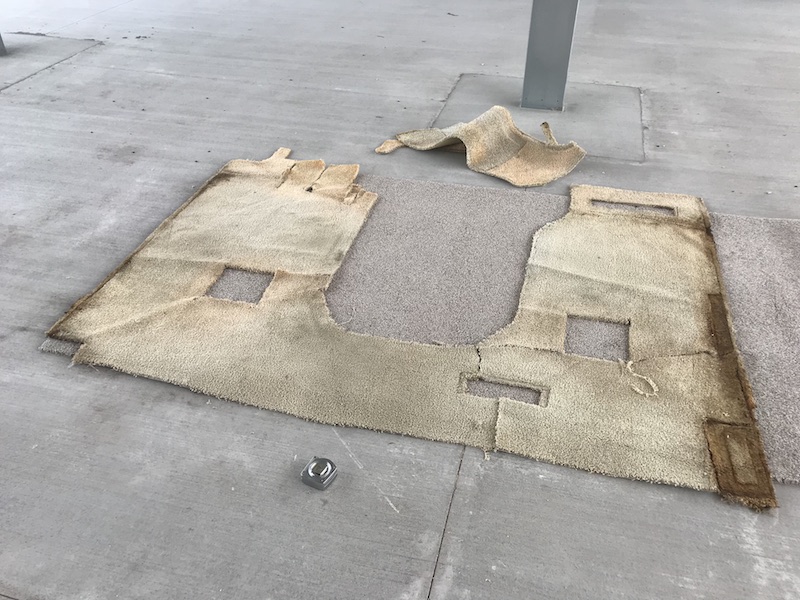
First, I installed carpet up front. Once again, I used the old carpet to cut the new carpet to size.
This technique was QUITE helpful when it came to the front carpet. With the curvature around the doghouse, all the nooks and crannies around the pedals, the seat mounts, the vents… it would have been VERY difficult to trim the carpet to size inside the vehicle. However, using the template I could do almost all of it out on the concrete.
And then, it went into the vehicle…
I did not use any tack strips or anything that you would usually do installing carpet in a house. There simply isn’t enough carpet to have to worry about that. No carpet stretching other than what you can do with your hands.
I simply used my air compressor and a air stapler. I stapled the carpet down along the edges and in a few places in the middle. In a few areas, I used some 3M Hi-Strength 90 spray adhesive. It helps put carpeting on the vertical surfaces where staples would have been problematic. I also used some around the pedals.
Using my utility knife, I trimmed the piece in and cut off the hanging pieces. I also cut holes through the carpet for the bolts which hold the front seats in.
Once the seats were in…
I did the rear bedroom in the same exact way. It was actually simpler back there because I didn’t have all the weird curves and pedals to contend with. But, I used the same template system from the old carpet and did the deed.
One issue I had was that I had to do a couple carpet seams. Professional installers have a special way of doing carpet seams with an iron. I didn’t want to do that for such a small amount of seam. I found a carpet seam tape at Lowes on their website, yet nobody (including them) could actually FIND it in their store. 🙂 So, essentially, I crafted my own crap seam by carefully trimming the edges and stapling them down as close together as I possibly could. Considering the height of the carpet, you can’t really see it.
The last major section of carpet to do was the main slideout. For this area, no padding was necessary. Most of the floor is covered with furniture anyway.
So, I started by removing all the furniture off the slideout.
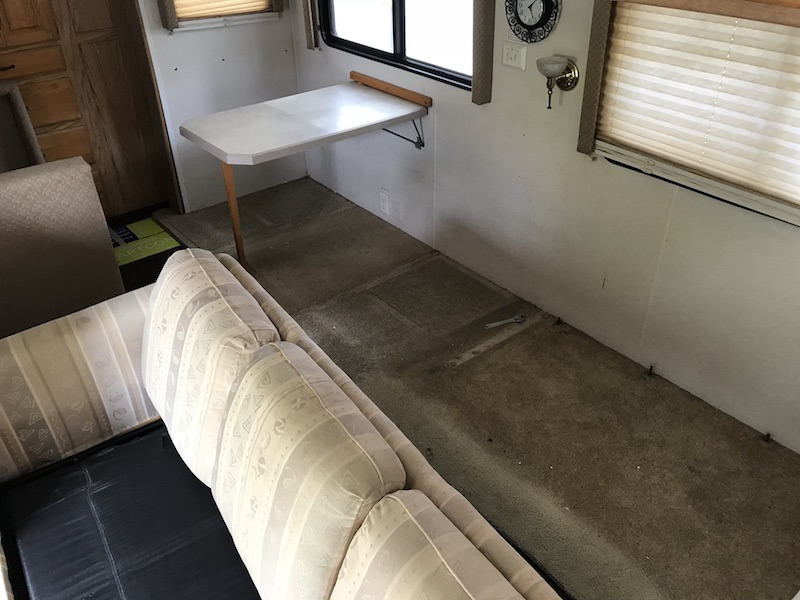
The old carpet was very easy to remove with just a little tugging. It was simply stapled at the edges. I then laid the new stuff in it’s place.
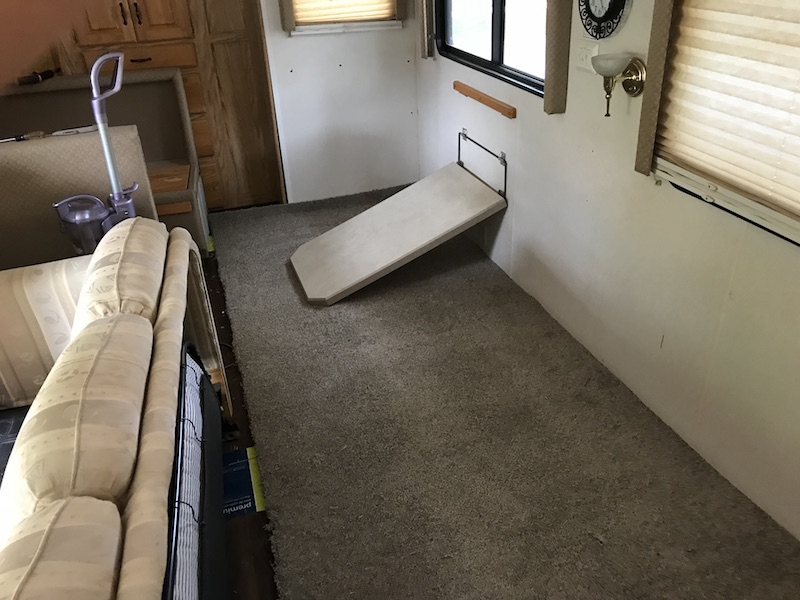
The carpet, as I mentioned, came in 12-foot increments. My slideout is 12 feet long. That was almost perfect except that there’s these little carpet pieces off to either side next to the trim. You can see the empty spot in this photo…
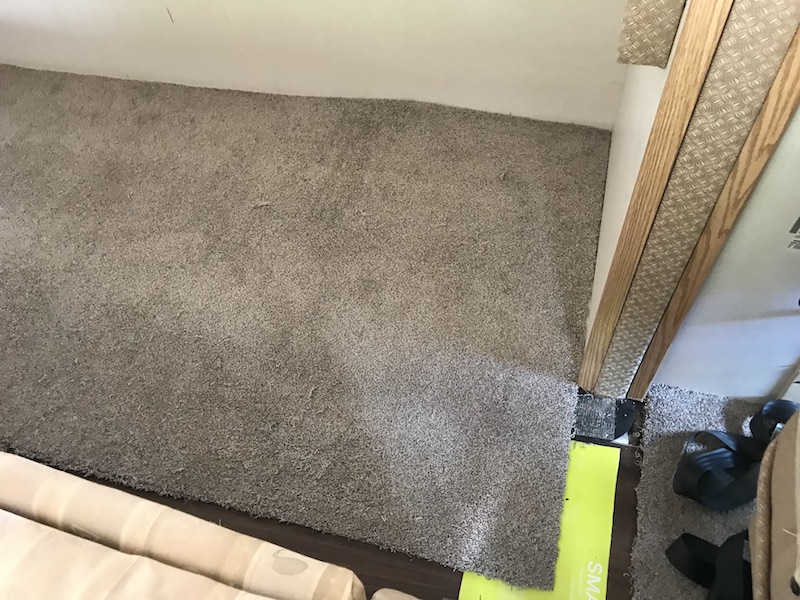
So, I’ll end up doing another seam on both ends of the slide for those little pieces. Between that and the carpet binding I’m going to do, you’ll never be able to tell once I’m done.
So, I cut the carpet to fit and just laid it on there. As of this writing, I have not yet stapled it down because I am expecting new furniture soon! So, once I get all that, I will finalize the slide carpet. In the meantime, the old furniture is just sitting on top of it and you can’t even tell.
I also had to recarpet the doghouse cover. Unfortunately, it looks like I forgot to take any photos of recarpeting the doghouse. But, it was easy to do.
I, once again, used the old carpet as a template to cut the new carpet to the proper shape. I then used that 3M spray adhesive to bond the carpet directly to the top of the doghouse. No padding needed.
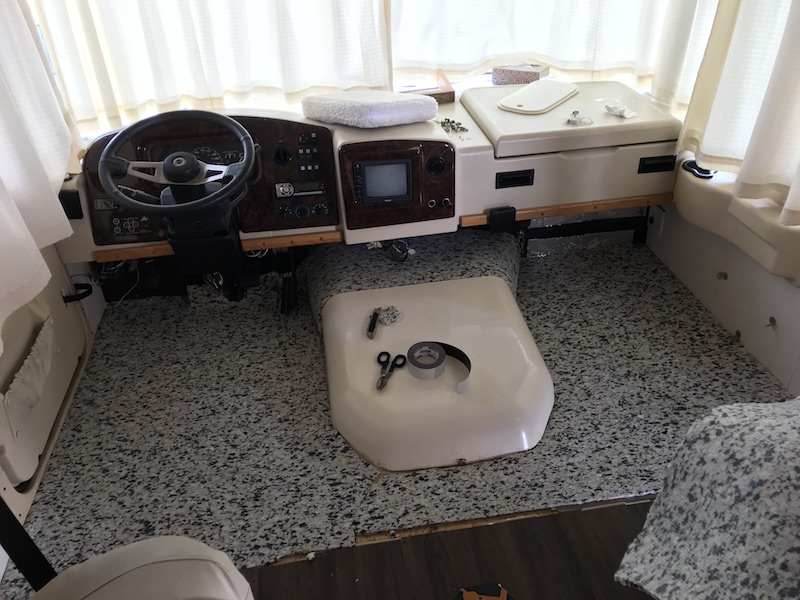
Here’s what the front looked like completed, including the doghouse:
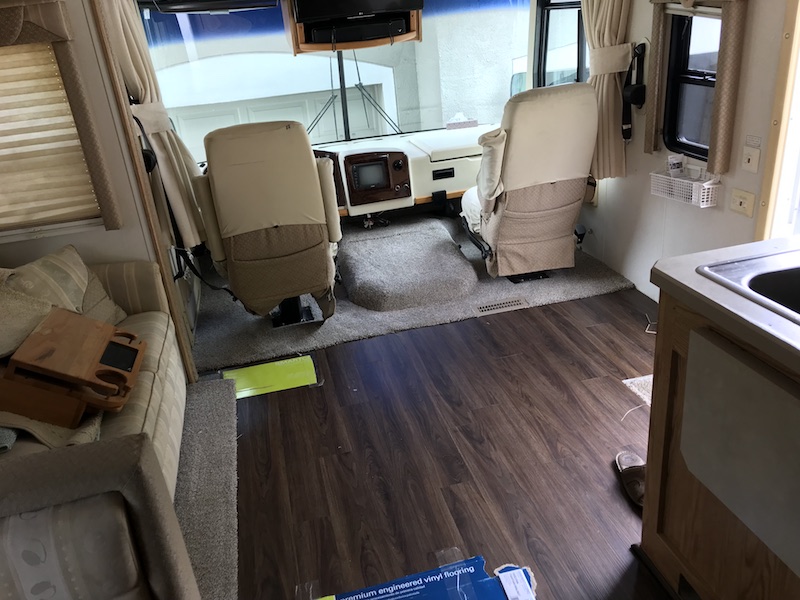
Well, actually, that photo isn’t the completed job. It is still lacking trim and I hadn’t installed the table and cupholder back yet.
But, I’ll cover the remaining stuff in the next post. 🙂
Did you use any kind of binding on the edge of the slide carpet where it overlaps the floor?
You mean on the slideout? Not yet, but I have the stuff and will be doing that myself. I’m just waiting for the new furniture to come in first so that I can eyeball where I want things, etc. I’ll have a post about it when the time comes.
Nice job David. Looks great.
Thanks, I appreciate it. 🙂