Getting An RV Tow Vehicle – Part 5. Towing Equipment Installed… and DONE! (Photos)
Follow Along On Our Tow Vehicle Setup:
- Part 1: To Tow or Not To Tow?
- Part 2: Tow Dolly or Flat-Tow “4 Wheels Down”?
- Part 3. Researching and Deciding On Flat-Tow Equipment
- Part 4: Final Equipment Decisions And Purchases
- Part 5: Towing Equipment Installed… and DONE! (Photos)
My journey to get our CR-V ready to be flat-towed is now complete. Here’s how it went down…
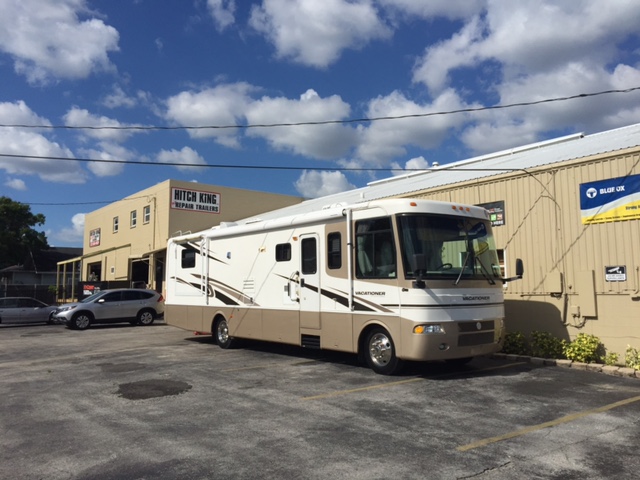
I hired Hitch King, in St. Petersburg FL, to install the equipment that I purchased. Here’s what I had them do:
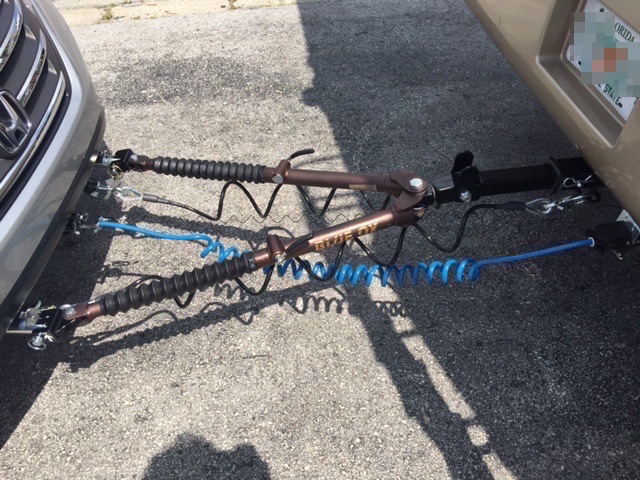
- Install the baseplate.
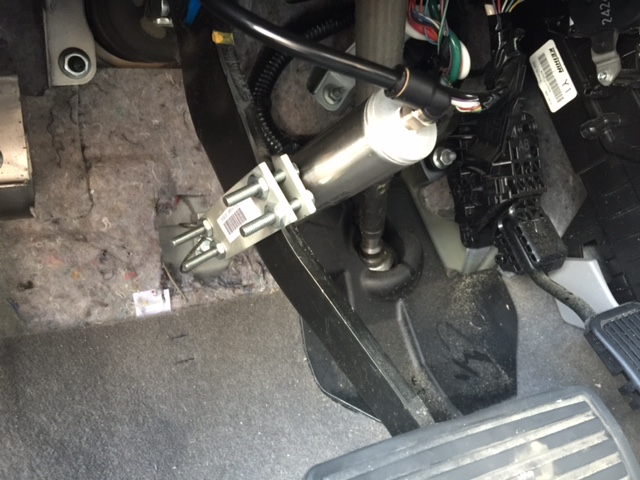
- Install the braking system.
- Install the lighting kit wiring.
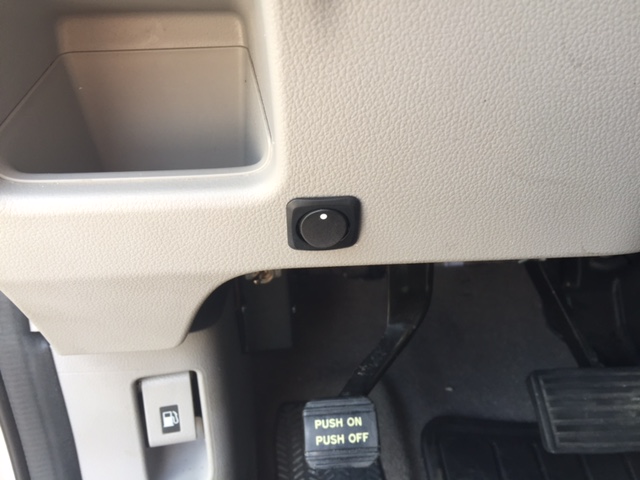
- Install the fuse bypass switch.
- Install the hitch on the RV (since it didn’t already have one).
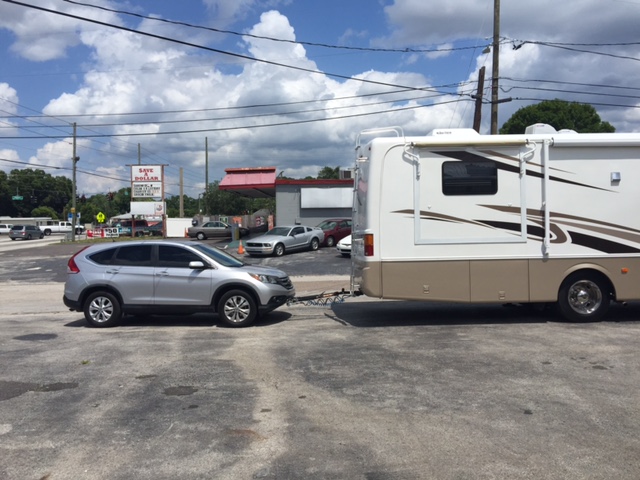
I took the CR-V over there on a Monday. By Tuesday afternoon they were done and ready for the RV. The plan was to bring the RV on Wednesday but weather delayed it. I took the RV over on Thursday and by about 3PM they were done and I was on my way home towing the CR-V behind the motorhome.
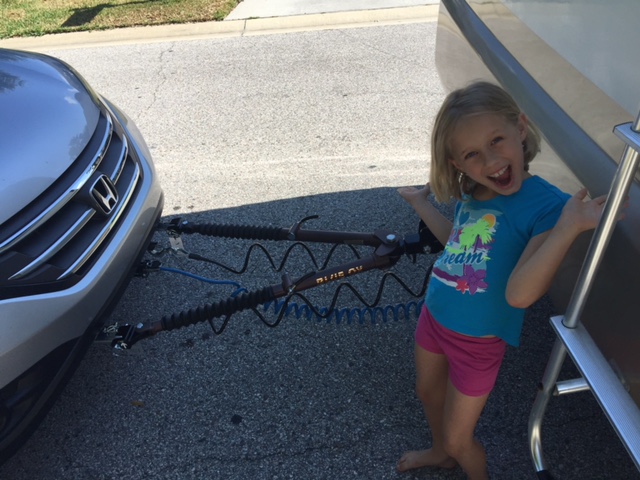
The work on the CR-V seemed to be done well. The towing hardware is visible if you look for it, but otherwise doesn’t alter the look of the car much at all.

When all was done, it was time for a test. We hooked up the CR-V to the RV for the first time so that I could take it around the block. The guy from Hitch King rode in the CR-V while I drove the RV. The main purpose was for him to watch the brake system respond to the RV and adjust the sensitivity as needed.
Once that was done, I paid them and drove home.
The RV drives a little different with the vehicle attached, as you might expect. It is a little heavier and you can tell. But, aside from that, you can basically forget it is back there.
I did notice that the little braking light that comes with the SMI system can barely be seen. This indicator light hooks to the rear view mirror in the CR-V and it illuminates when I hit the brake on the RV. This is supposed to show me when the brakes are being activated. It is supposed to be visible in my rear camera. Problem is…
It isn’t.
I can’t see it. It is a bunch of sun glare back there and I simply can’t see it. In all likelihood, this isn’t a problem. However, I would feel more comfortable knowing when the brakes are on. I may see about running a wire up forward to the RV dashboard and put an indicator light up front with me to get around this issue.
The trip home was pretty uneventful. Well, except for the awning beginning to open as I was about to go over the Sunshine Skyway! Yay! 🙂 I think the guy who waxed and buffed the RV knocked the clamp loose which holds the awning locked. Luckily, I caught it in time. I pulled over on the side of 275 in the emergency lane and re-secured the awning before heading over the bridge.
About 50 miles of driving later… and I was home.
So, let’s talk final costs.
I paid Hitch King a total of $1,000 labor to install everything. Then I paid $617.99 on a separate ticket which included the fuse relay install and the entire hitch installation and equipment on the RV. All in all, I paid Hitch King $1,661.25.
As I mentioned in my equipment purchasing post (see part 4), I paid a total of $2,150.56 for all the hardware.
So, all in, the sum total of the whole setup was $3,811.81.
Expensive? Well… hell yes! 🙂 I mean, there’s no getting around that this was the most expensive way to go. It would have been cheaper just to keep the Prius and throw it on a dolly. But, for reasons I already explained, that’s not what I wanted to do.
All in all, the price wasn’t bad at all. Camping World had quoted me more than this (about $300 more) and that didn’t even include the hitch on the RV. To get this whole setup with the hardware I selected – and the hitch installed on the RV – all for $3800. Actually, it isn’t bad.
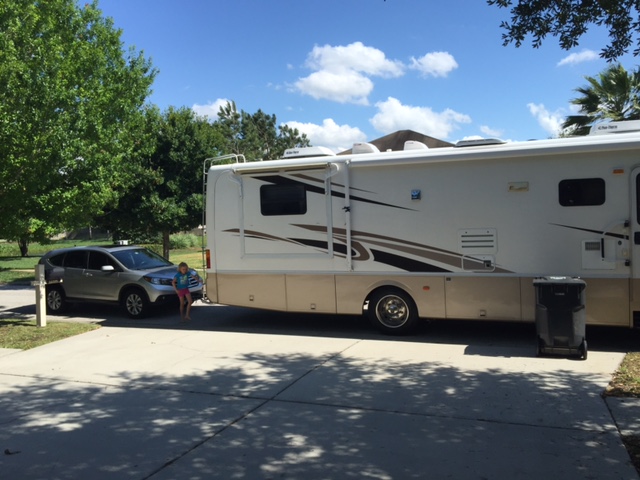
Plus, my daughter approves (although, she didn’t have to pay for it 😉 )
So, done deal!
At this point, I’ve only hooked it up and unhooked it once. So, I’ll get faster at it. But, I can tell it’ll be easy and fast. And that was the entire point.
Follow Along On Our Tow Vehicle Setup:
- Part 1: To Tow or Not To Tow?
- Part 2: Tow Dolly or Flat-Tow “4 Wheels Down”?
- Part 3. Researching and Deciding On Flat-Tow Equipment
- Part 4: Final Equipment Decisions And Purchases
- Part 5: Towing Equipment Installed… and DONE! (Photos)