Reflooring: Repairing Subfloor Rot – Part 1
At this point in my reflooring project, it was time to repair some rot spots on the subfloor.

The problem wasn’t too bad. It was mainly in a few spots along the edge near the walls. Namely…
- Passenger side, front. There was a leak issue with this rig with the previous owner. I think the issue was either with one of the front windows or the awning rail at the top.
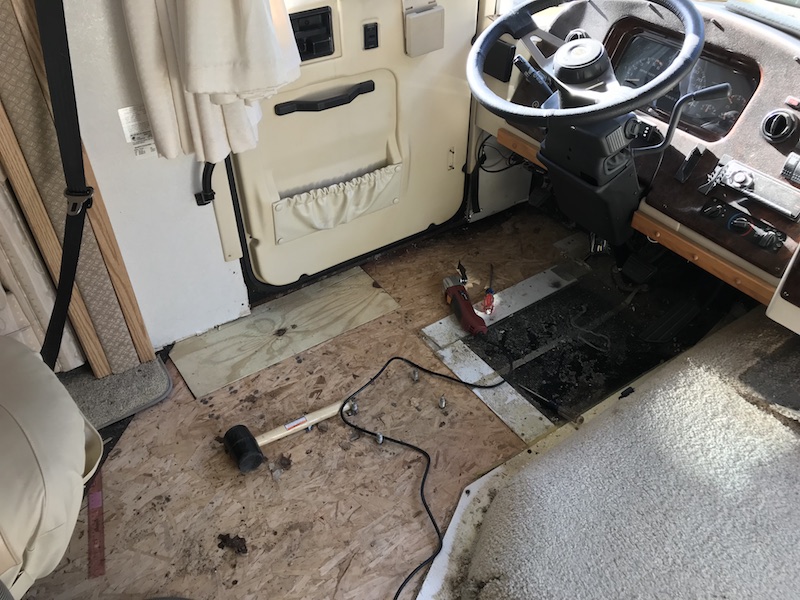
- Driver side, front. Likely the source was the slide-out, but I don’t know.
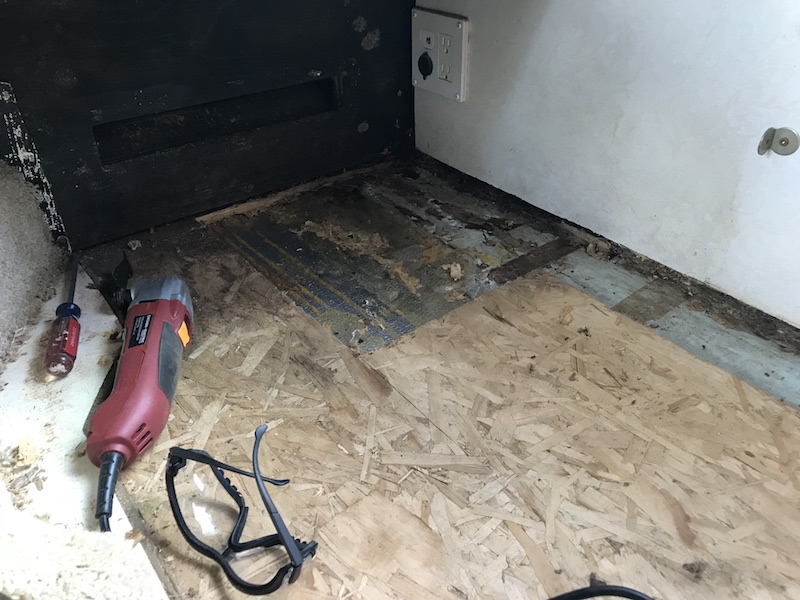
- Rear, under the desk. There was a previous leak with the rear window. The previous attempt to fix it (from the prior owner) was rather half-assed, to be honest.
There were also a few minor spots of water damage, but not full-on rot. The rot spots were obvious because the wood would literally flake off in your hands. You could stick a screwdriver right through it as all structural integrity was just gone.
This kind of issue isn’t ideal, of course. But, it also isn’t a major surprise. After all, this rig is 16 years old now. Also, many RV owners just don’t care for their rigs like I do. the rigs will sit there most of the time in the sun, getting rained on. When a leak develops, they might not even see it right away. And due to them not knowing what they’re doing, their repair might not be adequate.
I’ve seen some rot issues that were intense. The kind of thing that you’d never want to deal with and you’d stay clear of buying such a motorhome. But, in my case, the issues weren’t too big a deal. They just needed to be addressed properly.
I will stress that the actual leaks were long since handled. If you are doing a similar project on your own rig, always make sure you deal with the actual leak first before you worry about fixing any results of that leak. In my case, there are no leaks. But, it was time to deal with the effects before I slap new flooring over the top of it.
Because the rot was pretty confined, my plan was fairly simple:
- Cut it out with my rotary saw.
- Cut new plywood to match the exact size of the piece I cut out.
- Slap it in there. 🙂
We’ll run through each step in more detail. Also, I removed the captain’s chairs in order to make room for me to work.
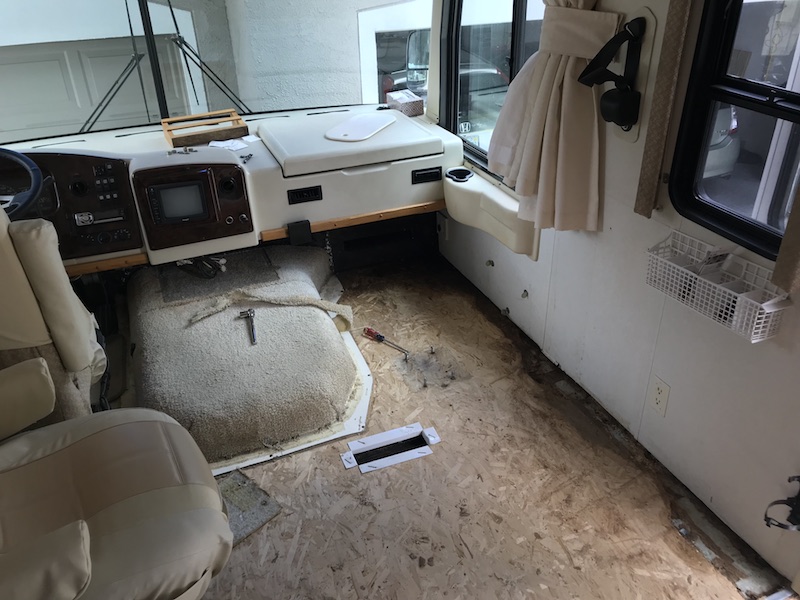
#1 – Cut Out The Rot
It might be tempting to just rip out the bad stuff and leave the rest. But, if you simply chisel it out, you’ll likely have round holes which are much more difficult to patch.
So, I decided to cut out nice rectangular sections. I measured my subfloor material and found that it was 3/4″ OSB material. So, I decided I would replace those sections with 3/4″ pressure treated plywood.
I took my rotary saw and I set the blade depth so that it was just slightly shy of 3/4″ – this way I wouldn’t penetrate the underlying insulation or hit any metal beams. I then took a measuring tape, a pencil and a level and I drew a line to cut by.
What I did was determine how far out from the wall to make my cut, ensuring I went about an inch or so past the rot. I then measured how far that was out from the wall and ensured a nice parallel line was drawn on the floor. Make sure that you accommodate for going under the wallboard just a bit since I do want the new plywood to go under the wall a bit.
Once the line was drawn, I made my cut.
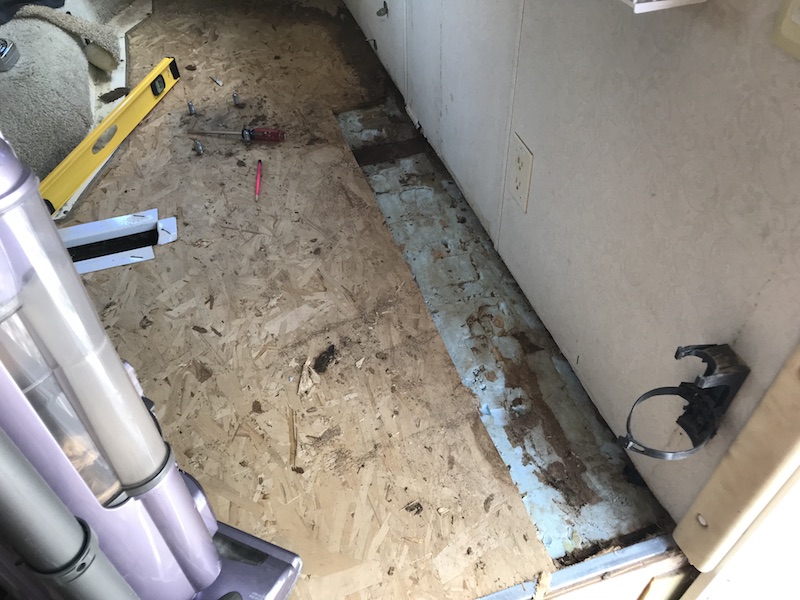
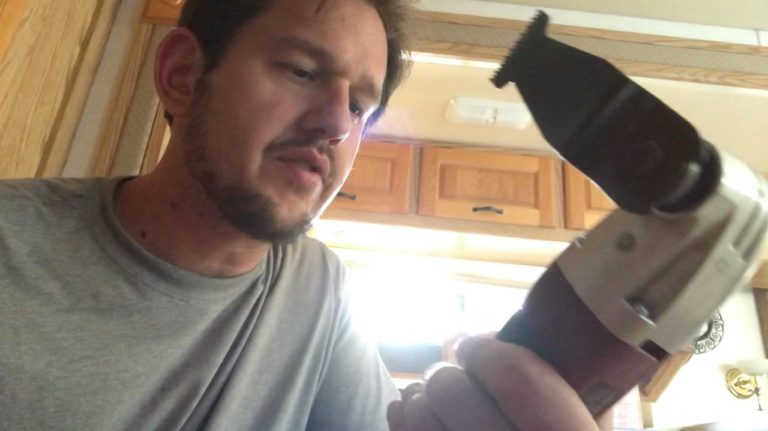
Once the cut was made, it was time to pry. The wood doesn’t just come out because, in my case, it was stuck down to the underlying insulation layer. So, I had to pry it out and also take my multi-tool to it again. But, with some prying and cutting, it comes out. The underlying insulation took a few dents, but it won’t affect how it works.
I repeated this process in the other rot locations. You will need to make adjustments depending on the size of the rot. And be sure to think ahead in terms of the plywood material you’re replacing it with so that you can make holes you have enough material to fill.
#2 – Cut New Plywood
As I mentioned, I used 3/4″ pressure treated plywood. I did consider marine grade plywood, but I didn’t feel it would be necessary. There also was new OSB material I could have used, but I chose pressure treated plywood because I thought it would be more sturdy and resistant to the same problem happening again.
Just measure the size of the holes you cut in the floor and cut a plywood piece to match it. You may have to cut more than one so as to puzzle them in there.
Make sure you accommodate, again, for the new wood extending under the wallboard a bit. I think mine went in about half an inch.
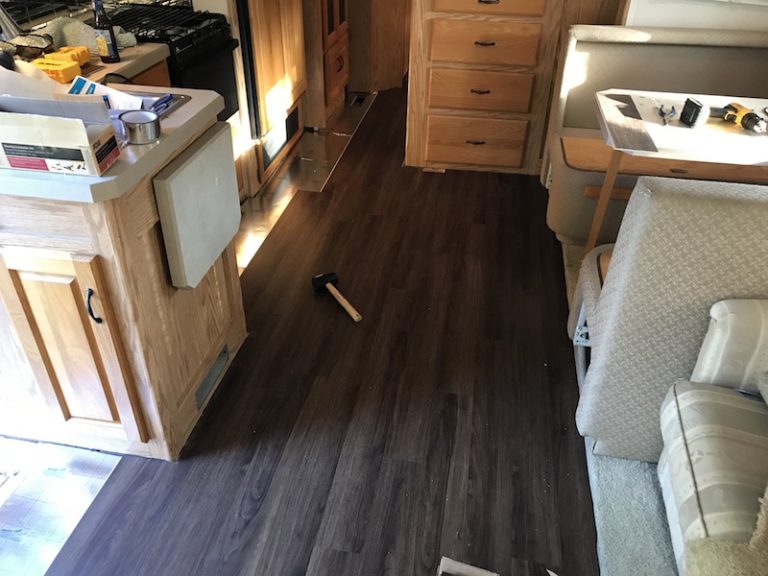
#3 – Slap It In There
Put the new plywood into the spot you make it for. ‘Nuf said. 🙂
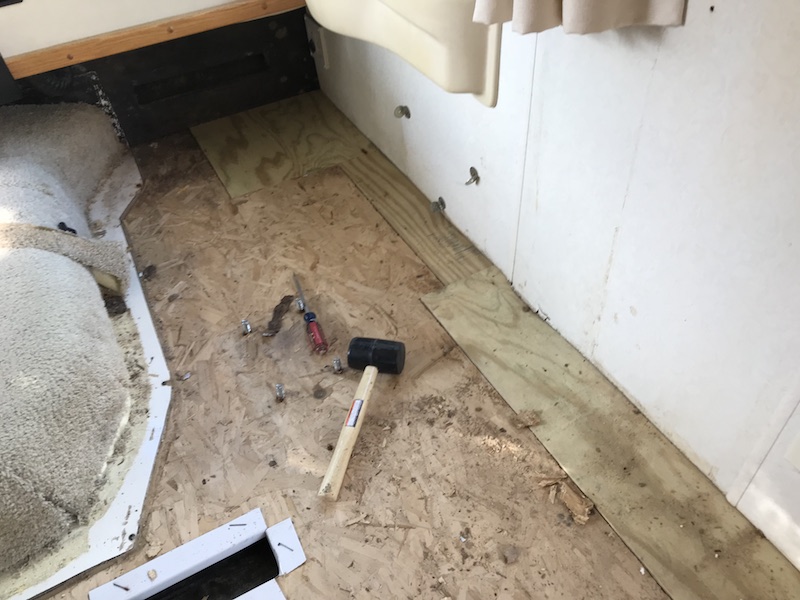
You might have to hammer it in there. In my case, I used a rubber mallet and banged it in there. But, unless your measurements were off, it’ll fit.
Now, I will stress that the process for this might be different depending on your rig. For instance, if you have a trailer, then you might have a different floor structure and you may need to build in support beams out of wood to hold the subfloor.
In my case, my floor is a sandwich structure. There are metal beams holding things up, but sandwiched in there was a bunch of insulation, luan plywood, etc. So, I didn’t have to provide any support for my new wood pieces. They could just sit there on top of the insulation.
I did this around the rest of the rig.
We’ll wrap it up in the next post… 🙂